I cannot tell you how many times I have dealt with an oil painting that looks dull – or different areas of my painting looking dull. When the paint was still wet and fresh, my painting looked rich in color and vibrant. But as the painting dried, certain areas began to look lighter, sunken in, and dull. This can be incredibly frustrating to deal with!
This is something called sinking in. It happens when some of the oil binder is absorbed into the underlying paint layers or painting surface, leaving the paint looking matte, dry, and less vibrant.
Thankfully, there are ways to help prevent this from happening in the first place. And if you do end up with sunken-in areas in your painting, there are ways to temporarily restore their richness and vibrancy.
However, prevention is always preferable! So let’s go over how to prepare your painting, which materials can help prevent sinking in, and what to do if it happens anyway.
Your Painting Surface Affects How Dull Your Painting Might Look
Believe it or not, whether you are using an acrylic-primed or oil-primed canvas or linen (or whatever surface you are painting on) can greatly influence how dull your painting might look.
Acrylic gesso tends to be more absorbent, which means that some of the oil binder from the paint layers can be absorbed into the surface. This can leave the paint looking dull and dry.
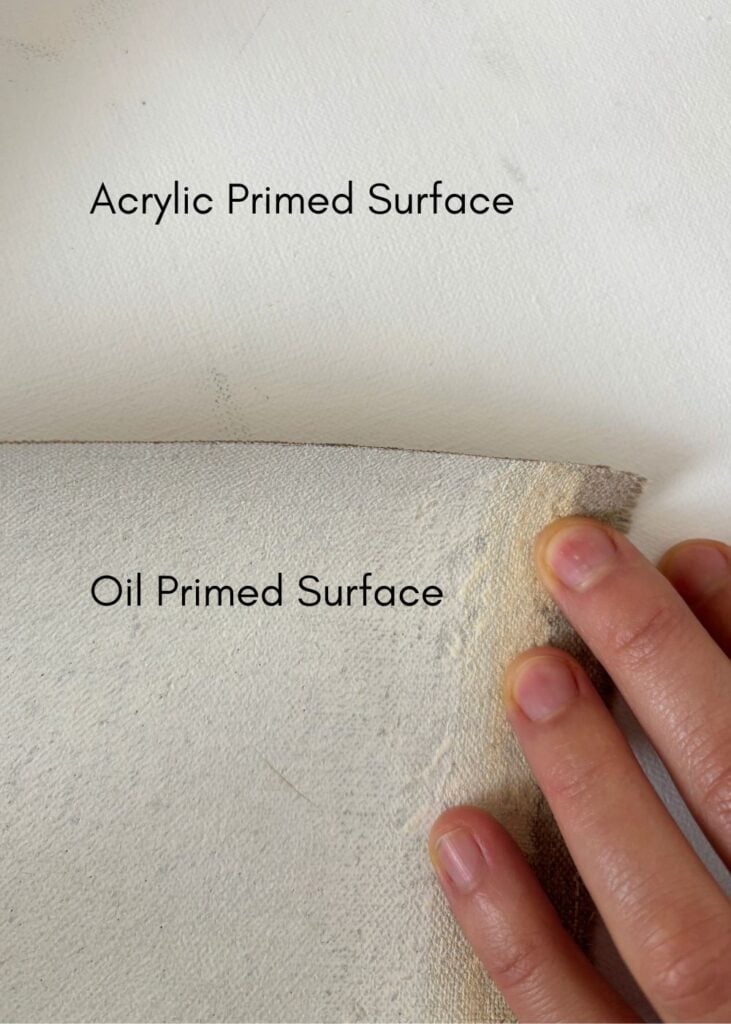
Oil-primed surfaces, on the other hand, tend to be less absorbent, making sinking in less likely.
However, not all oil-primed surfaces are the same. If your canvas has only a single layer of oil primer, you may still experience some sinking in, depending on how absorbent the ground is. A more thoroughly prepared surface can help prevent this.
For this reason, I particularly like double oil-primed canvas. A well-prepared, less absorbent oil ground can make a big difference in helping your colors retain their richness as they dry.
Earth Colors Can Be the Culprit
You may have noticed that some colors dry much faster than others. Earth colors, such as raw umber, burnt umber, burnt sienna, and yellow ochre, often dry relatively quickly and can be especially prone to looking matte or sunken in.
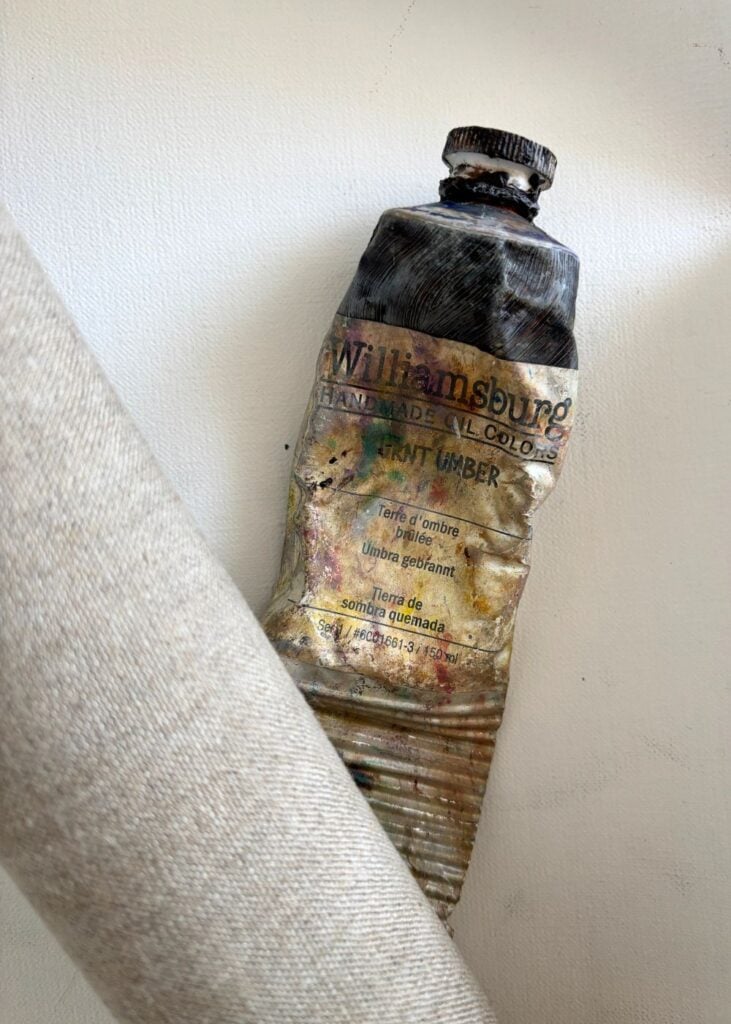
This has to do with the different properties of pigments and how much oil they require. Some pigments naturally produce a more matte paint film than others.
Something that can help prevent certain colors from sinking in is adding a small amount of painting medium, such as stand oil or another bodied oil, to the paint. This can help the paint retain a richer, more luminous appearance as it dries.
However, you don’t want to add too much oil. A little goes a long way, and adding medium will also change how the paint handles and dries.
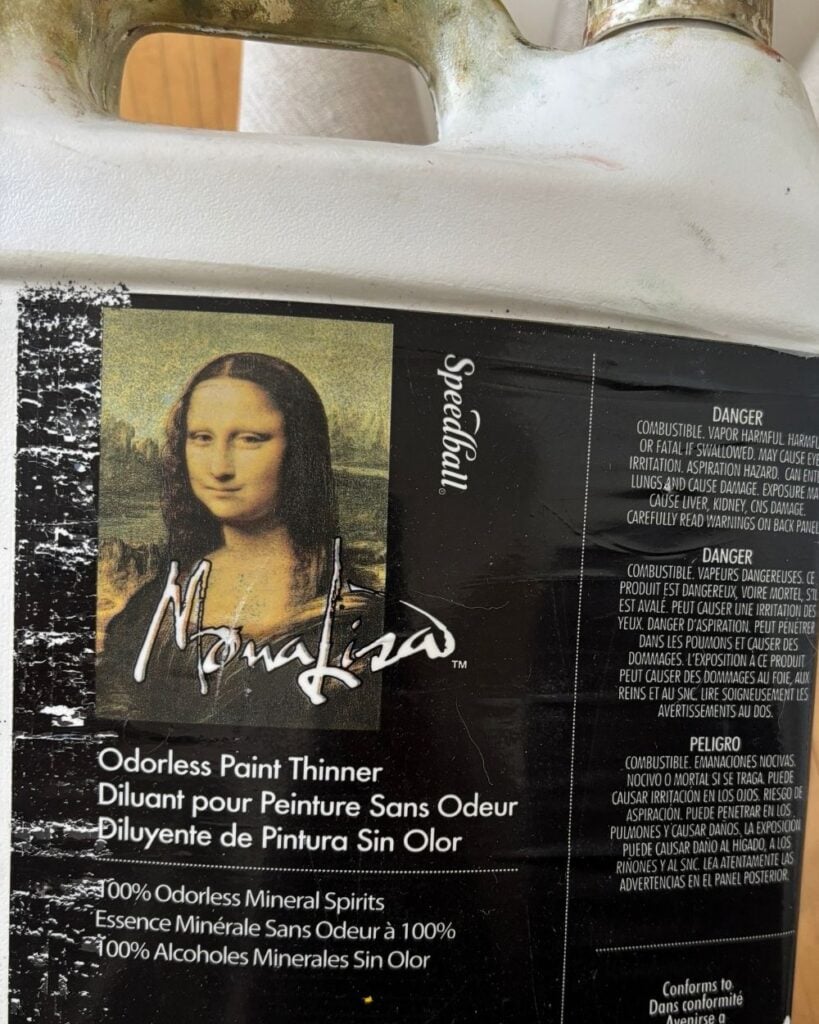
Also, be sure not to use too much turpentine, Turpenoid, or Gamsol, especially after your initial underpainting. Excessive thinning with solvent can leave your paint with too little binder, resulting in weaker, duller-looking paint layers.
The Fat Over Lean Rule Is Real
When building your painting, you want to follow the fat over lean rule.
What does this mean?
Essentially, you want your earlier paint layers to be relatively lean, while subsequent layers should be at least as flexible and appropriately bound as the layers underneath them.
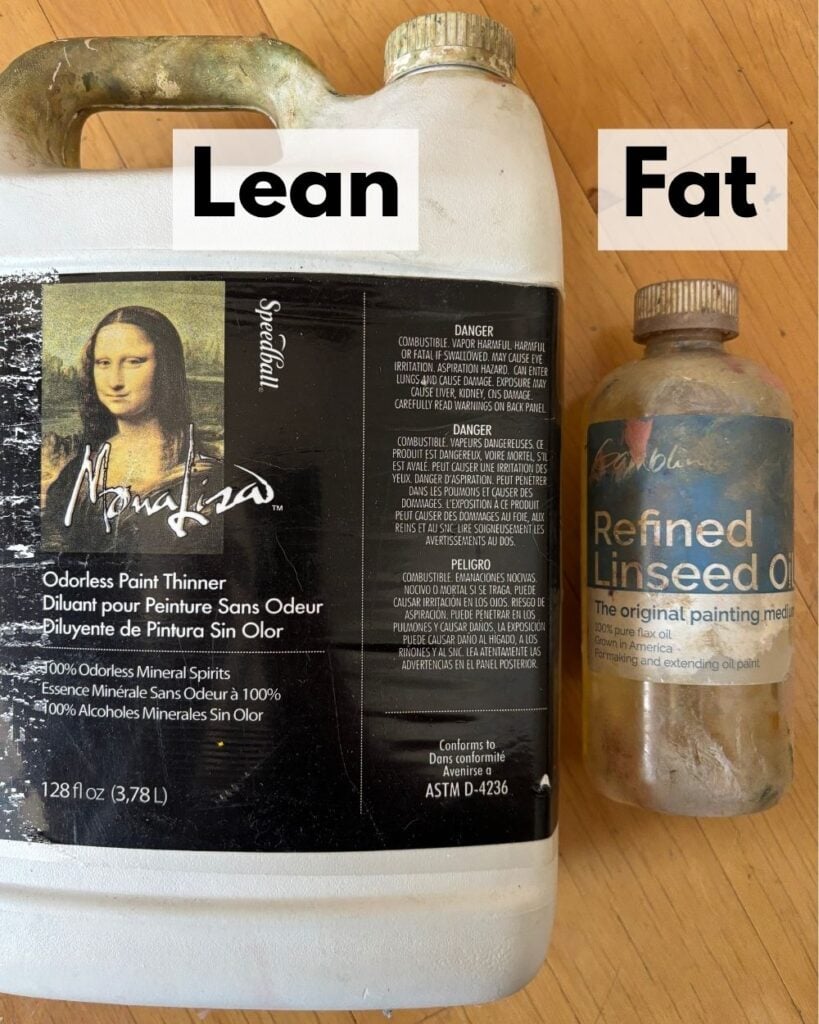
For example, when starting a painting, you might use a small amount of mineral spirits, such as Gamsol, to thin your paint for the initial underpainting or block-in.
However, you don’t want to use so much solvent that your paint becomes underbound. Even in the initial stages, your paint needs enough oil binder to form a strong, stable paint layer.
As you progress with your painting, you can reduce or eliminate the use of mineral spirits and simply use paint straight from the tube.
You do not necessarily need to add linseed oil at all! Oil paint already contains oil, so you can build a painting using paint straight from the tube without continually adding more medium.
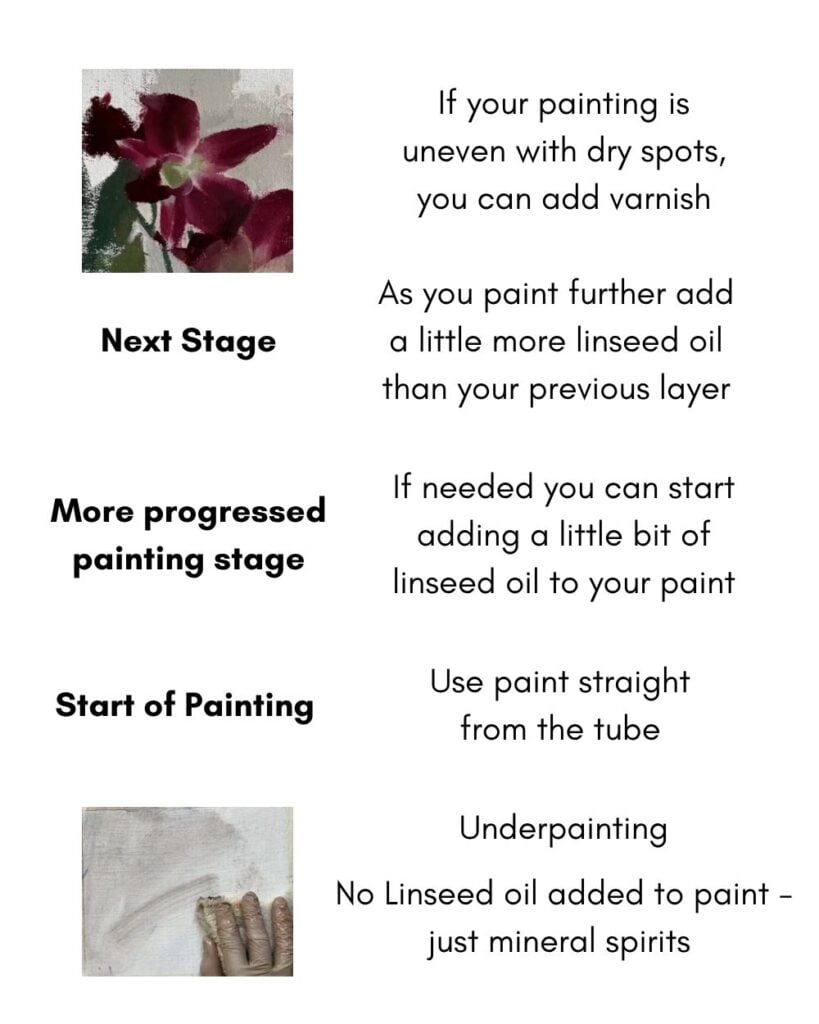
However, if you do choose to add linseed oil, you generally want to avoid applying leaner paint layers over substantially more oil-rich layers.
This is the principle behind fat over lean.
Following this rule helps ensure that the paint layers dry and age in a compatible way, reducing the risk of cracking over time.
It can also help you avoid some of the problems associated with excessively solvent-thinned paint, including dull, sunken-in areas.
What If Prevention Wasn’t Possible?
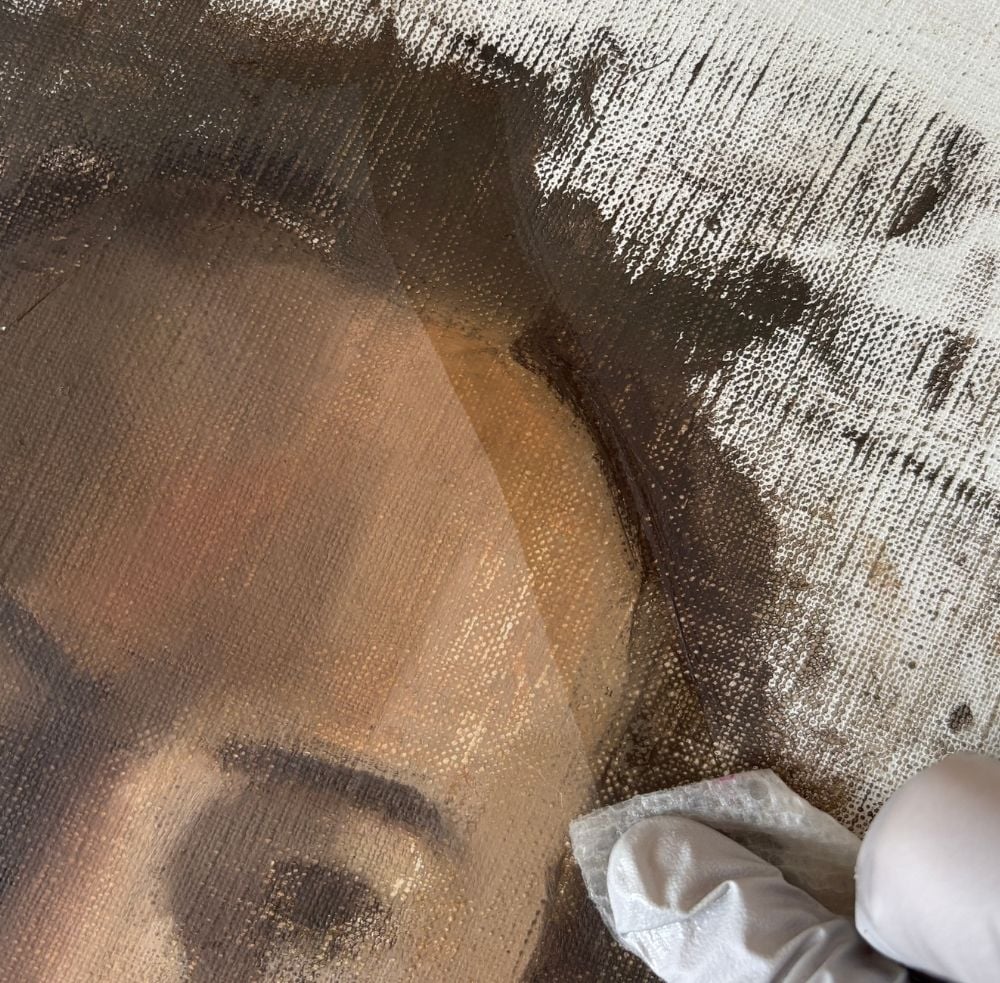
If you weren’t able to prevent dull, sunken-in areas from appearing in your painting, there is a technique you can use called oiling out.
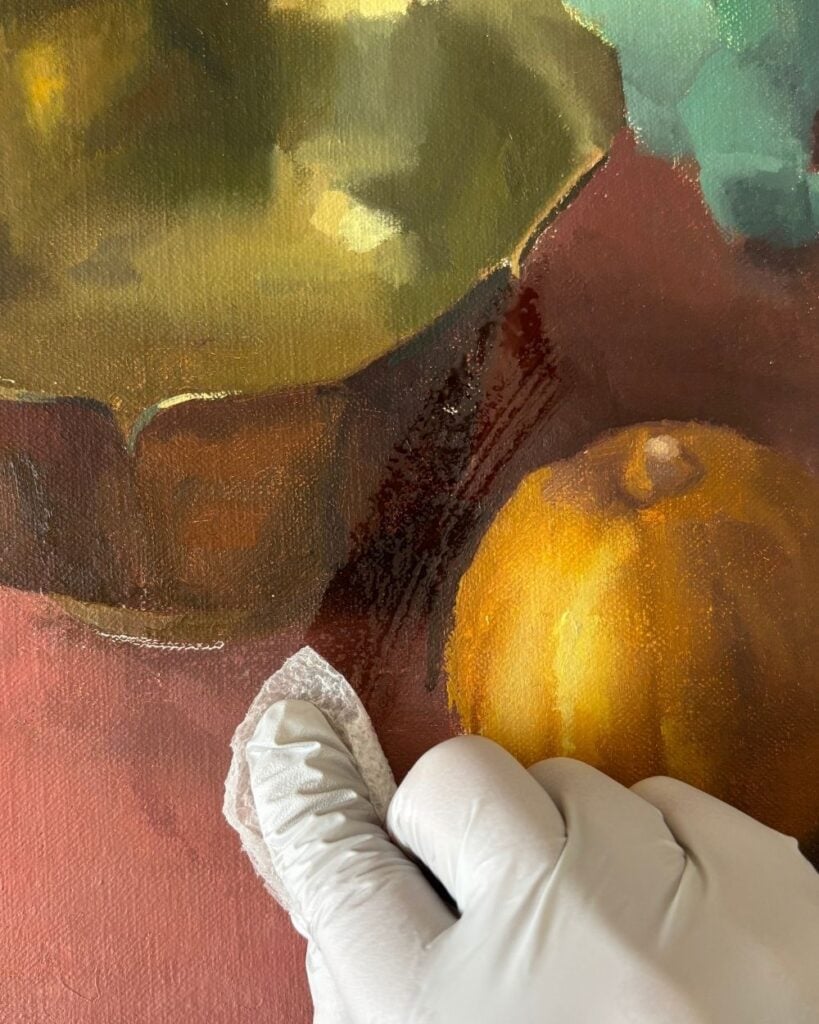
This is particularly helpful when you’re working on a painting over multiple sessions.
When areas of your painting sink in, it becomes difficult to accurately judge your colors and values. The colors you originally mixed may now appear lighter or duller than they did when you first applied them.
This makes it difficult to compare the colors you’re mixing with the colors already on your painting.
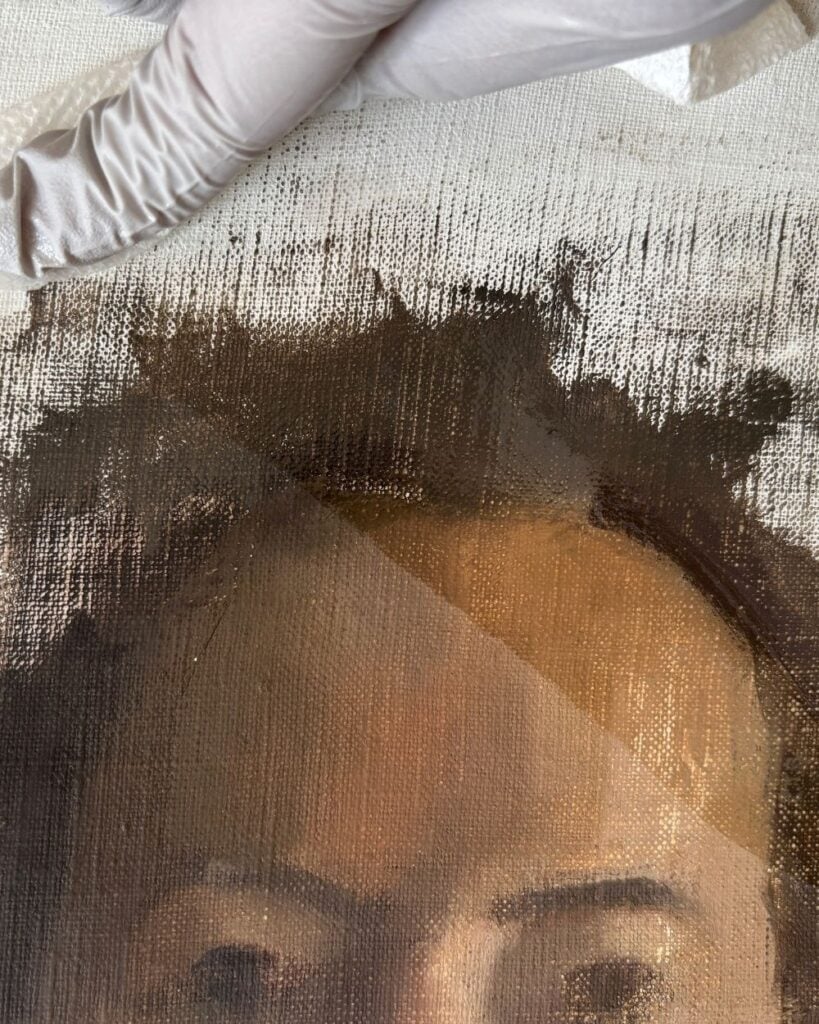
Oiling out helps restore the original richness of these sunken-in areas so you can more accurately see your color and value relationships as you continue painting.
How to Oil Out Your Painting
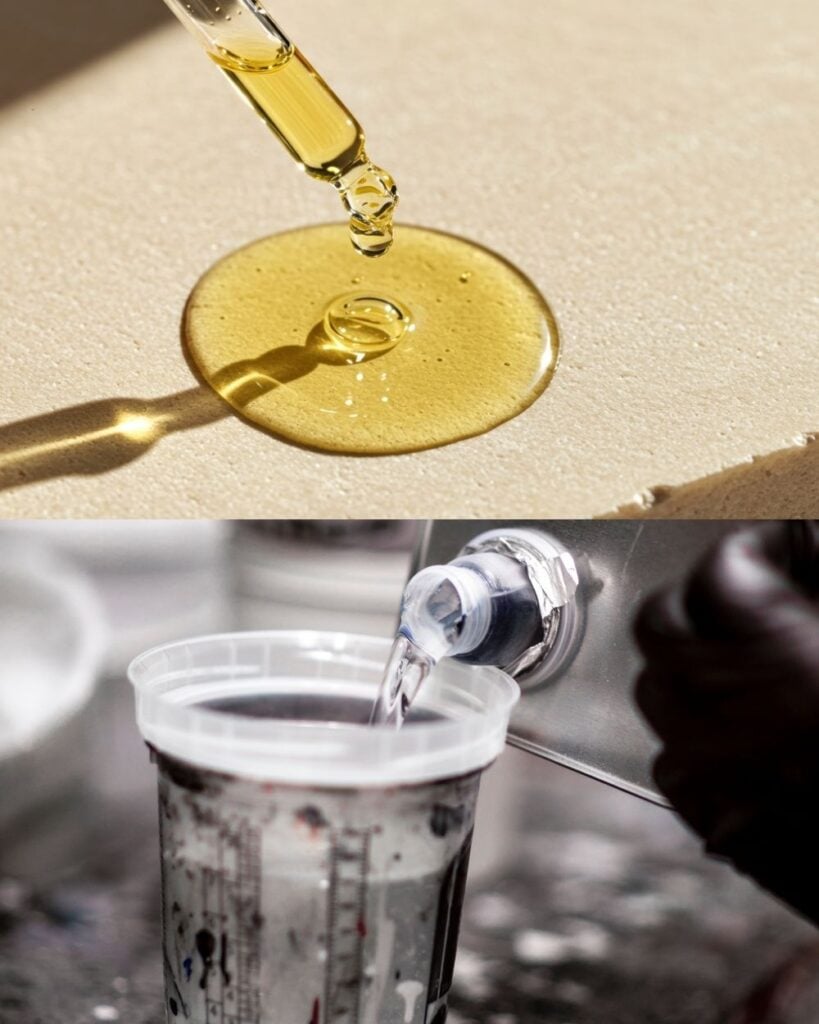
To oil out your painting, you can use a small amount of refined linseed oil diluted with Gamsol or another suitable artist-grade mineral spirit.
A commonly used mixture is one part refined linseed oil to one part Gamsol. However, the most appropriate mixture can depend on the painting and the materials you’ve already been using.
First, make sure the area you want to oil out is dry to the touch and sufficiently firm that it won’t be disturbed.
Then apply a small amount of the mixture to the affected areas using a soft brush or lint-free cloth.
Allow the medium to wet the surface briefly, then thoroughly wipe away the excess with a clean, lint-free cloth.
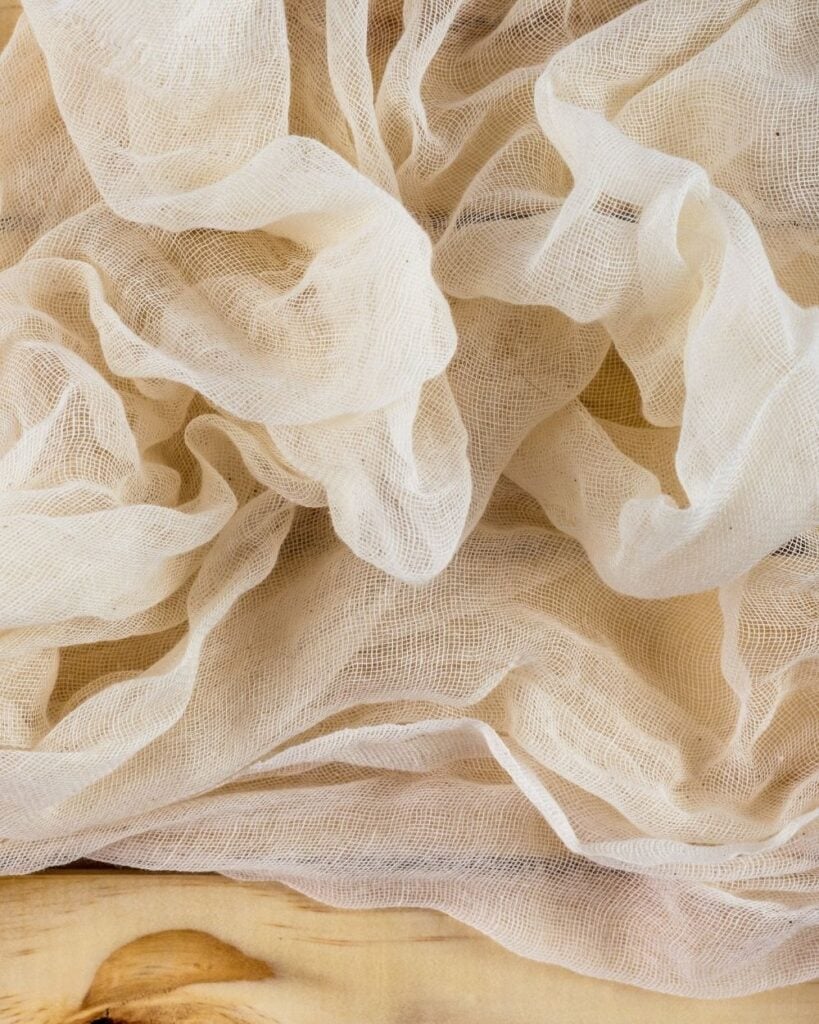
You want to leave behind only the thinnest possible amount of medium. The goal is not to create a new, glossy layer of oil over your painting, but simply to restore the richness of the sunken-in colors.
Once you’ve done this, you should be able to see the colors and values much more accurately and continue painting.
But What About Fat Over Lean?
You might be wondering: why is it okay to mix mineral spirits with linseed oil at a later stage of the painting? Doesn’t this contradict the fat over lean rule?
The important thing to understand is that oiling out is different from mixing large amounts of solvent into your paint and applying it over an oil-rich layer.
When you oil out, you’re applying a very thin amount of diluted oil over an existing, touch-dry paint layer and then thoroughly wiping away the excess.
The Gamsol evaporates, leaving behind a very small amount of oil that helps restore the surface’s color saturation.
This is different from creating a substantial new layer of heavily solvent-thinned paint.
However, oiling out doesn’t mean that you can completely disregard fat over lean. If you leave too much oil on the surface, you may create an unnecessarily oil-rich layer that can cause problems when you continue painting over it.
This is why it is so important to wipe away the excess and use as little medium as possible.
The purpose of oiling out is simply to restore the appearance of your colors so you can continue painting with a more accurate understanding of your color and value relationships.
Varnishing a Finished Painting
Once your painting is finished, you may still notice that some areas look duller than others.
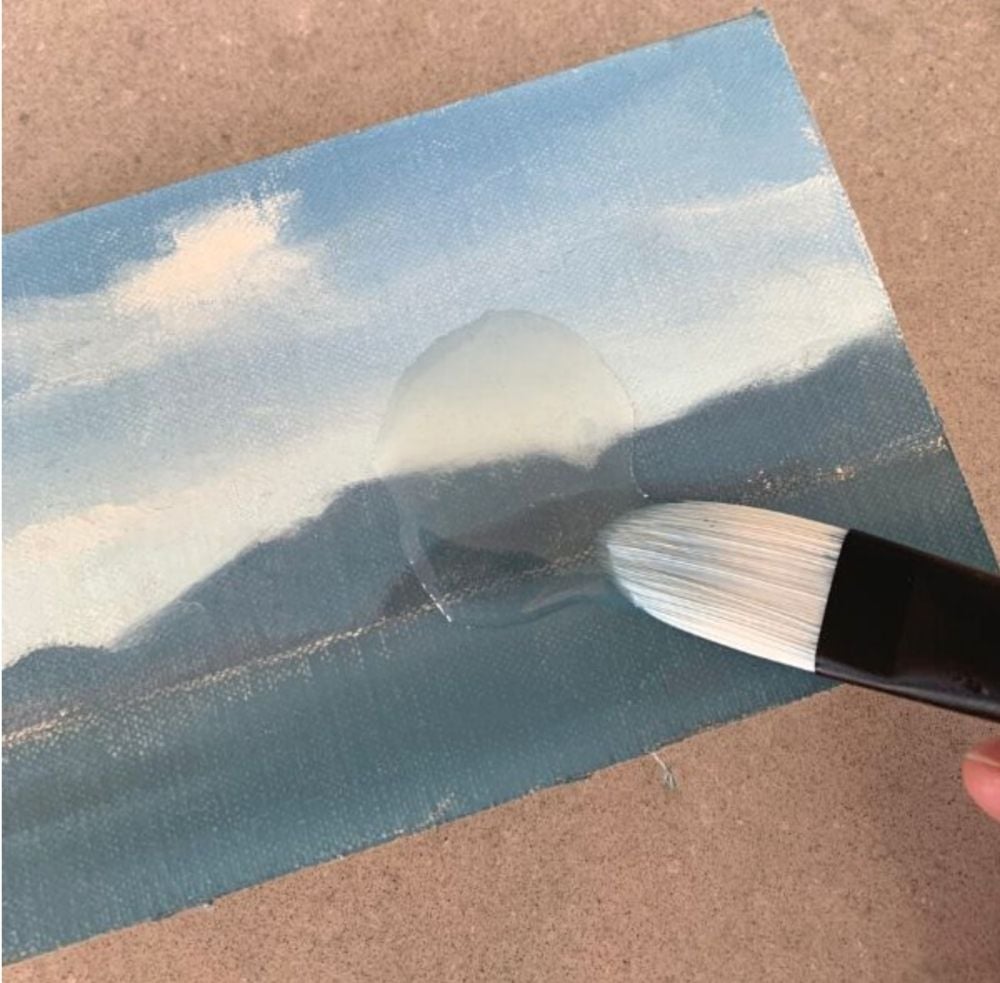
This is where varnishing can make a big difference.
A suitable picture varnish can help restore the richness and depth of your colors while giving the painting a more unified surface appearance.
Depending on the varnish you choose, you can achieve a glossy, satin, or matte finish.
While sinking in can be frustrating, it doesn’t mean you’ve ruined your painting or that your colors have permanently lost their vibrancy. By choosing the right painting surface, using your materials carefully, and knowing how to oil out when necessary, you can keep your paintings looking rich and vibrant.
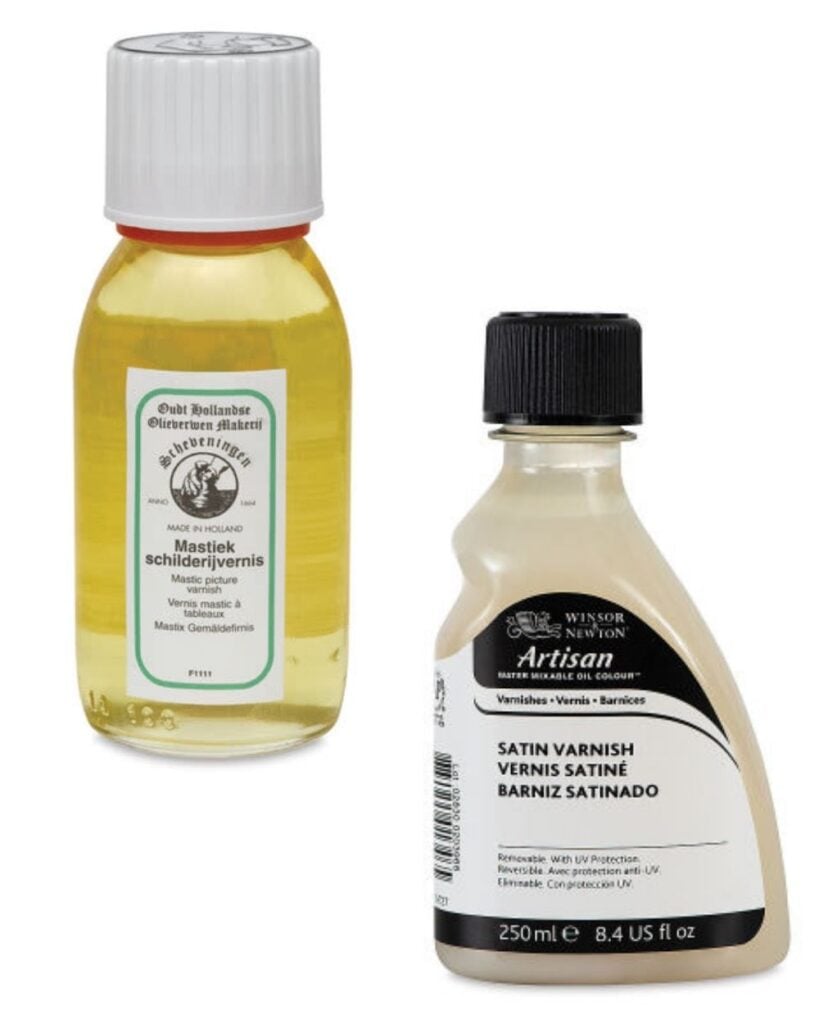
Just make sure your painting is sufficiently dry before varnishing, and follow the instructions for the particular varnish you are using.
Choose the right path for avoiding dry spots
While sinking in can be frustrating, it doesn’t mean you’ve ruined your painting or that your colors have permanently lost their vibranWhile sinking in can be frustrating, it doesn’t mean you’ve ruined your painting or that your colors have permanently lost their vibrancy. By choosing the right painting surface, using your materials carefully, and knowing how to oil out when necessary, you can keep your paintings looking rich and vibrant.cy. By choosing the right painting surface, being mindful of your materials, and understanding how to oil out when necessary, you can help your paintings retain the richness and vibrancy of their colors.
Want to remember this? Save How to Fix a Dry-Looking Oil Painting to your favorite Pinterest board.