How do you know if a painting is “finished”? This can be a big looming question in painting as it can often be difficult to know when a painting is “done”. And knowing when your painting is done isn’t something that can be taught in a straightforward way. I believe ones sense of understanding when a painting is finished develops over time with practice. However, there are some practical tips that will help you to be able to develop this “sense” and finish or know when your painting is finished.
A good painting process is when you are continually asking yourself questions and engaging with your painting on a deep level. Therefore, I have laid out a series of investigatory questions that will help you to mentally go through the stages of finishing a painting.
Is there tonal unity? Is there a clear value structure?

This is the most important question of all! In fact, it is more important than color when it comes to a paintings sense of ‘unity’. If a painting’s colors are beautiful but the value structure is off then the painting will not work. However, if the colors are incorrect but the value is correct then the painting will work.
So, when taking a step back ask yourself if there is a clear value structure. Are you able to get a clear sense of light from the piece? Make sure that your painting has 3 – 4 main values. One area should have the ‘brightest bright’ value, followed by some ‘middle tones’ and then an area that is the darkest of the values.
The brightest value in your painting should be clear and obvious to you and should stand out as the ‘brightest bright’. Conversely, the darkest value in the painting should also be obvious to you as well and should know right away where it is. Make sure that there is a clear distinction between the ‘middle tones’ (the values that are between the brightest and darkest values) and the brightest and darkest values. You want to pursue clarity when it comes to the value structure of your piece – not fuzzy indistinctness.
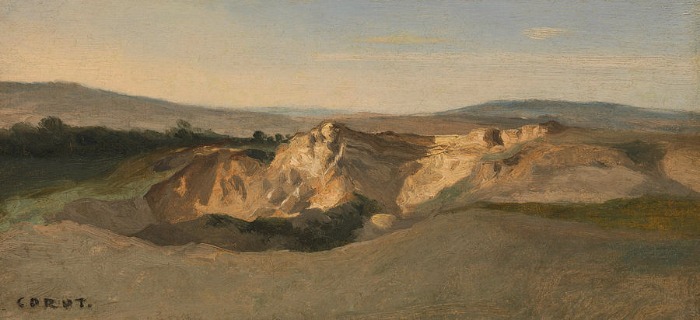
Above you will notice a landscape by Camille Corot. He is known to be a master of value. All his paintings exhibit a clear distinct value structure and have a brilliant sense of light. Studying and making copies of his works (among other master painters) will surely help in understanding how to create a clear value structure in a painting.
Is the Composition Working – Are the Parts Fitting Together to Make a Whole?
Now, take a step back and ask yourself about your composition. Does it feel like all the parts of your painting are working together? Do you feel like you are finishing your painting with a great composition? You do not want your painting to feel like different areas of the painting are separate and unrelated to one another. Rather, you want your piece to have a unity in which the whole painting feels like it works together. Here are some tips for creating a great composition.
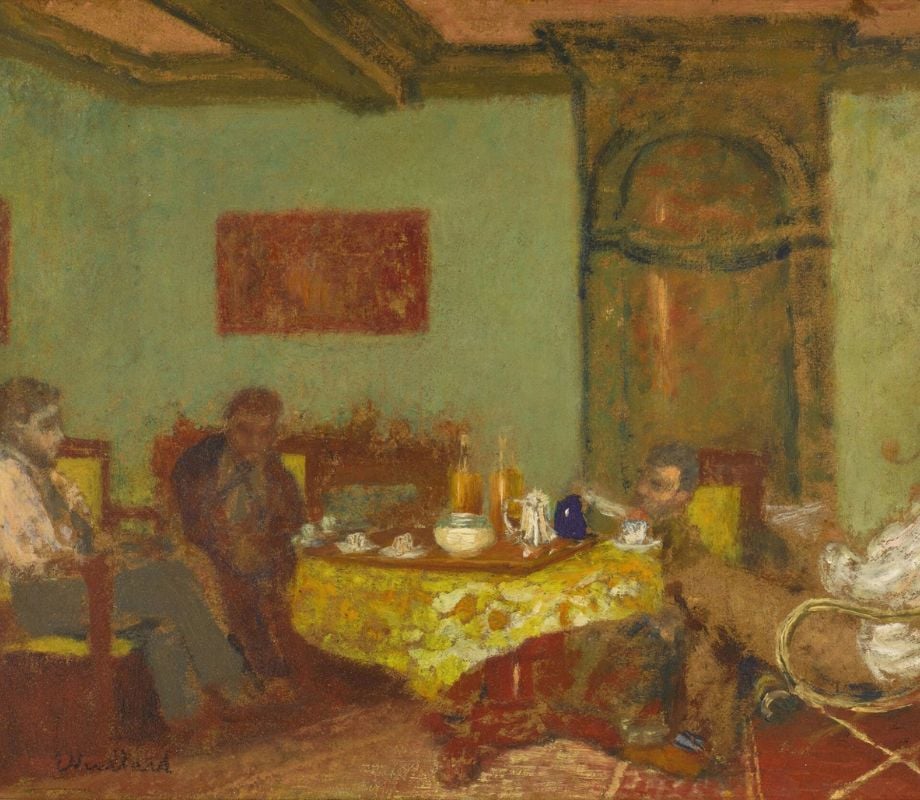
It helps to take a photo of your painting as you can more easily judge it in a smaller format. Take a look at your piece through a photo of it and ask yourself if your eye flows easily through the painting. If it feels broken up try to join the disparate parts together. You might need to paint over parts or make major changes to make this happen. It can be a little scary to paint through areas that you spent a long time on, but it will always be worth it in the end. You will also learn a great deal through the process.
Is there Good Color Harmony?
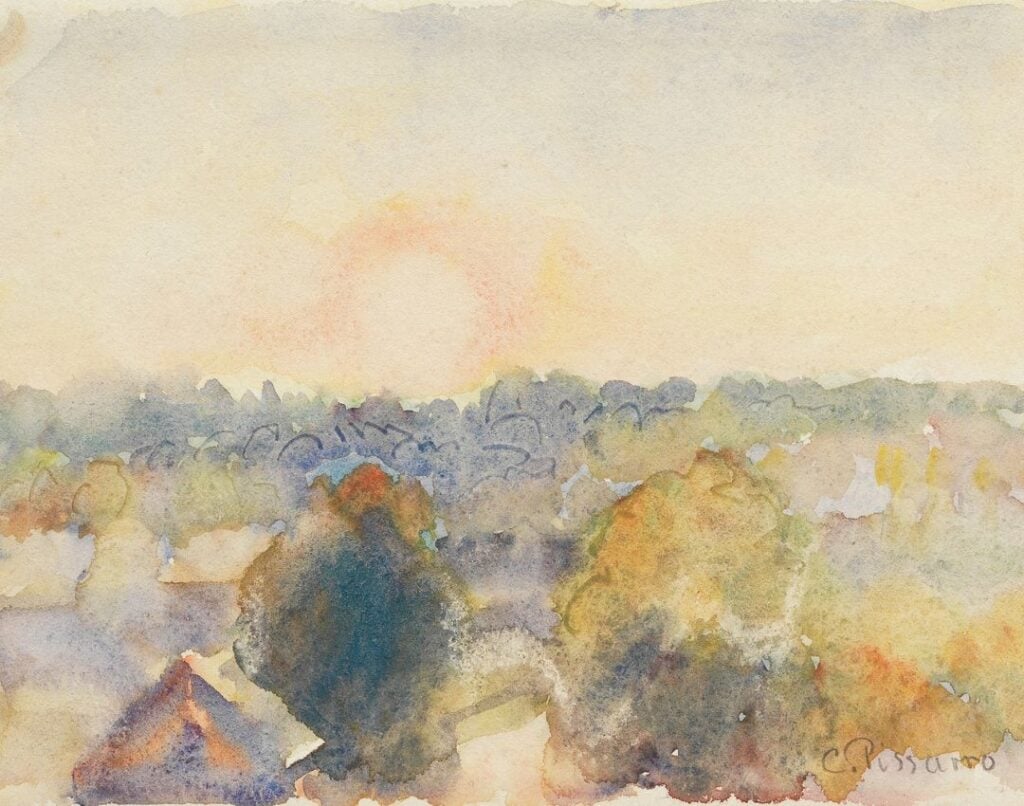
Are the colors working together well in your painting? In a painting with good color harmony one should feel like all the colors ‘speak’ to each other. Throughout the process of a painting one should always continually mix colors in relation to one another. This does not mean that colors cannot be different – quite the opposite! You may have vastly different colors and tonal ranges. However, they should fit in with the painting you are creating.
Muted Vs Saturated Colors
For example, you do not want to have a very saturated color that is among a painting mostly muted colors – it will stand out too much and not look like it is part of the painting. If your painting is mainly made up of muted colors, you can still of course have areas that are ‘brighter’ but they need to be in relative correlation with the rest of your painting. So, just bright enough to look brighter than the rest of the piece but not too bright so as to feel like it does not fit in with the painting.
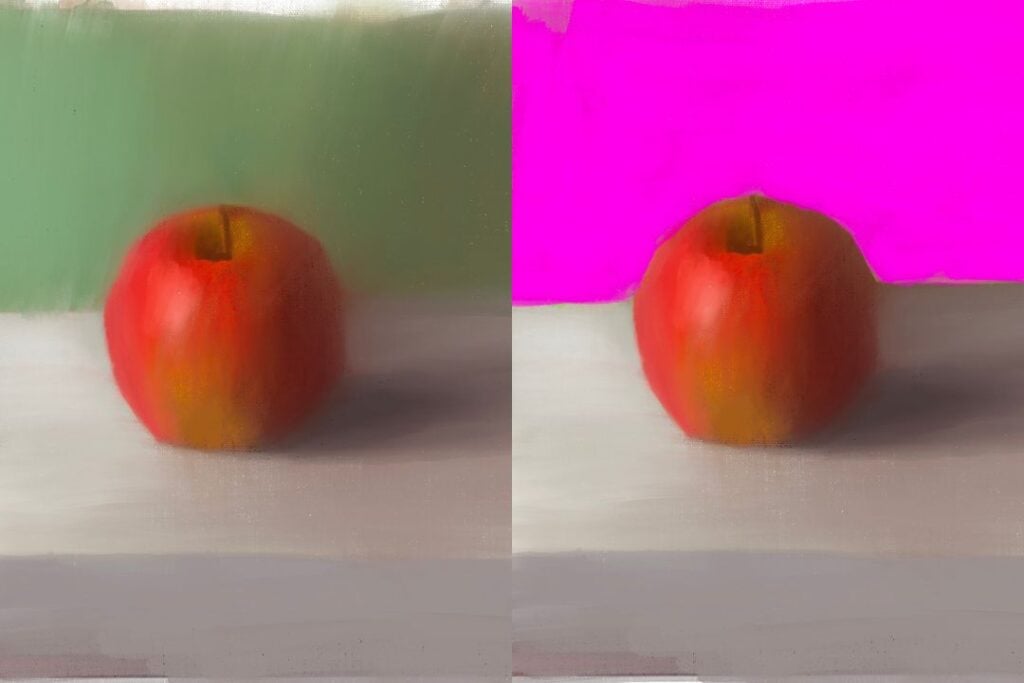
Looking at paintings of artists you admire is a great way to develop a sense of color harmony and how to develop that in your own work. The artist Giorgio Morandi was a master at color harmony – view his work if you are having a hard time understanding the concept of what color harmony is in a painting.
Is the Sense of Space Working in the Painting?
Having a sense of space is important – especially when finishing a painting. Unless you are deliberately developing a spatial flatness in your piece, you want to be able to feel a sense of depth in your painting.
So, when looking at your painting after taking a step back ask yourself if the foreground feels like it really is coming forward. Does the background feel like it is receding and going back in space? If you feel like there is not a strong sense of space in your painting here are a few tips that will help to remedy the situation!
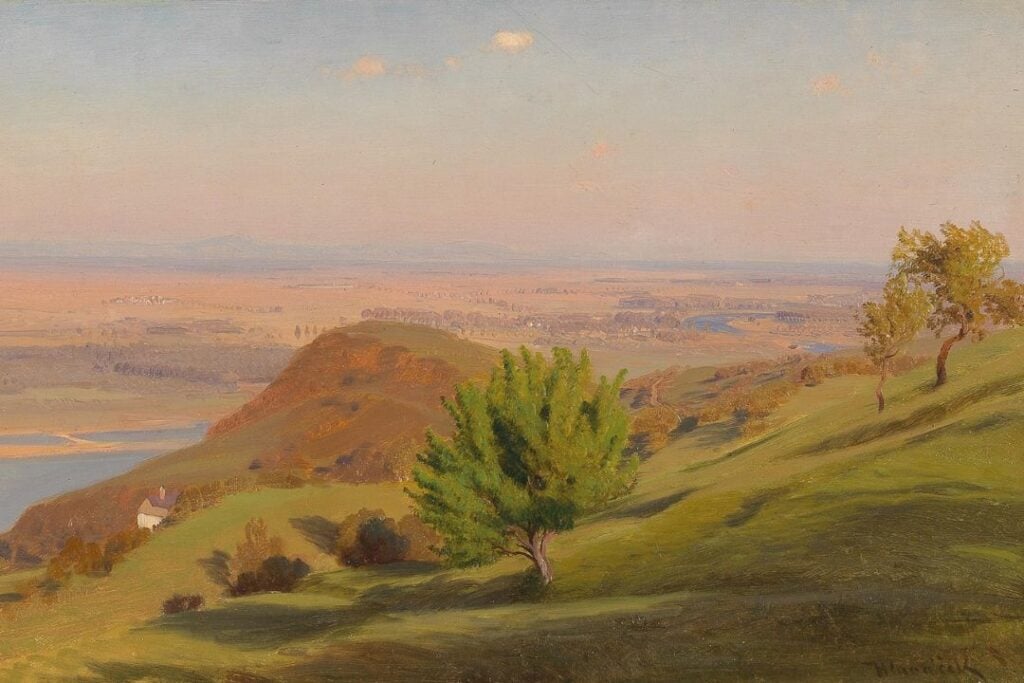
How to make your foreground feel more like it is ‘in front’:
- Create sharper edges at the front of your painting – sharper edges will immediately make an area of your painting come forward.
- Use warmer colors on your foreground. Warm colors make something feel closer, while cooler colors recede back in space more. You will notice this often in landscapes where an area far off in the distance is a cool bluish color.
- Using more saturated colors in your foreground will also make it come forward more.
How to make your background recede in space:
- Create softer edges for the areas of your painting that you want to recede back in space. You can have the edges gradually become softer as the background goes further back in space.
- Use cooler colors for your background – cooler temperatures tend to make your eye read it as going farther back in space
- Use more muted colors for the background areas of your painting
Are the measurements correct?
Last but not least, geometry and drawing are vitality important to your painting. Check your measurements and make sure that everything lines up correctly in your piece. This is something you will need to do continually throughout the process of your painting. You can do this by using a plum line – or just a simple stick or string. Compare the measurements of what you are painting to your own piece and make adjustments where they need to be made. Doing this might involve making some major changes in your work. Don’t be afraid to make big changes, as it will be worth it in the end!
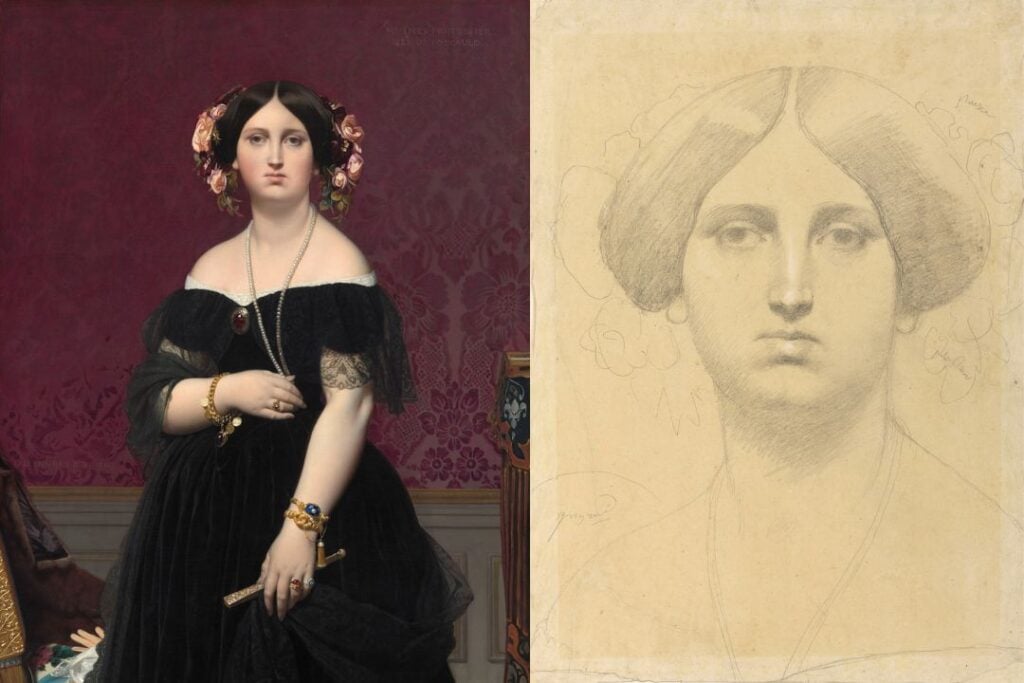
Ingres Example
Above you will notice a painting by Ingres with an actual corresponding drawing. When we think of drawing we typically think of pencil on paper. However, drawing extends far beyond that. We constantly draw while we paint – it is essential. Ingres was incredibly fastidious about measuring constantly. And you can see this show through in his work.

A “finished painting” doesn’t always mean that the entire canvas is covered in paint. It could be only partially covered and still finished. This is why I often prefer the word “complete” versus “finished”. As a painting can be complete without looking finished. Often all the things mentioned in this article can be present in a painting before it is totally covered.
In addition to that, the process will always be more important than the finished product. Try not to focus on getting a beautiful ‘finished’ painting but rather on the process. If you place your focus on the process you will most certainly end up with a beautiful piece of work.



6 thoughts on “5 Questions to Ask Yourself Before Finishing a Painting”
Thank you for your excellent suggestions! Each aspect is worth exploring!!!
You are so welcome Alice! Glad this is helpful for you!
I always appreciate learning from you, as you are able to clearly define the subject matter, and often
give illustrations that are very helpful.
thank you for sharing! Am glad that the illustrations I include are helpful – I always hope for them to be!
Thank you for a very informative, easy to follow lesson..looking forward to future lessons..ie color mixing, painting mountains, use of pallets knife, creating various types of trees, foliage color..
My compliments Ms. Larson…( from an 80 yr. old male who has discovered the “Joy of Painting”.
Hello John, Am glad to hear that you discovered the joy of painting and find the information on this website helpful. Also, thank you for future article suggestions! Always love to hear what kind of lessons others are looking for.