

Painting is hard! I have many frustrating memories from when I was first learning to paint. If you are just starting out, chances are that you have also encountered similar frustrations. However, this article is here for painting beginners, to help eliminate any uncertainty as to how to start!
So, lets dive in starting with my favorite topic – Art Supplies!!
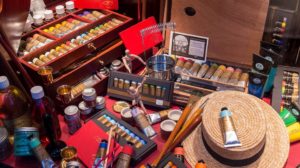
Painting Beginners Supplies and Materials
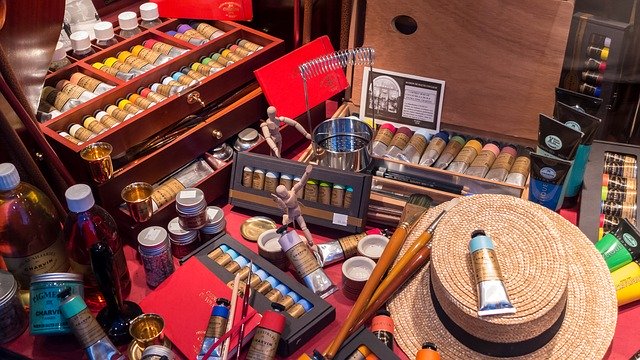
Painting inherently comes with a lot of supplies. However, there is also a lot of supplies out there that is not necessary for painting, especially if you are just starting out. In this guide, I want to show you the essential items you need to make a successful start in painting.
You can also find a list of recommended art supplies that I use myself, here.
Best Painting Palettes for Beginners
The palette is to a painter what a keyboard is to a pianist. This is where your colors will be and where all your mixing will take place. What happens on your palette determines what happens on your canvas. There are numerous different types of palettes available for oil painting – what you choose depends on your personal preferences.
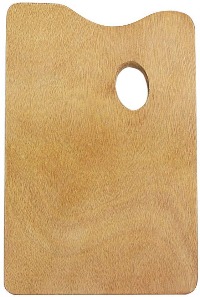
Wood paint palette
The wood palette is probably the most classic type of painting palette. It is what the old masters used and still used by many today!
A big advantage of wood palettes is that they are lightweight and therefore work very well for taking out plein air painting. You do not need to deal with a cumbersome weighty palette. However, they do require some extra care in that you need to always be sure to wipe off any extra paint after each painting session. If you fail to do so, then you will have to deal with dry paint stuck on your wood palette!
Glass paint palette
Glass palettes make for great painting palettes in the studio. They are much easier to to clean than a wood palette. With a glass palette, It is ok if you forget to clean your palette after a painting session. The surface of a glass paint palette is smooth and hard and therefore easy to use a razor scraper to take off any dry paint. If you would try to use a razor to scrape off dry paint from a wood palette you will end up gouging out wood chips from your palette.
Paper palette
Paper palettes are the disposable version of painting palettes. They can be used for both oil painting and acrylic painting. However, I would hardly call them an ideal option. For one, they are not very environmentally friendly considering that you have to throw away a paper palette after each use. In addition, you cannot keep your selection of regularly used colors on your palette as you throw it away after each use.
On the other hand, it can be a handy alternative when heading to paint outdoors as paper palettes are very lightweight.
Plexi-glass palette
A plexi-glass palette can be a great option if you like the advantages of a glass palette but are worried about it breaking. In addition, they tend to be much lighter in weight so are a great option for plein air painting. The downside of a plexi-glass palette is that it can be difficult to clean if paint is allowed to dry on it. Dry paint might come off, but not until after you do a lot of scraping!
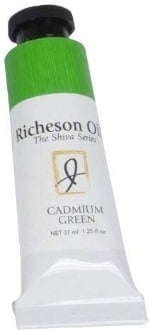
Great Paints for Beginners
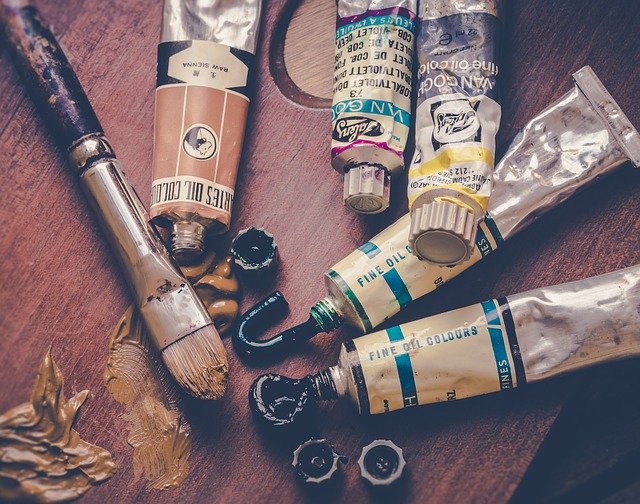
This guide deals exclusively with oil paint, as I believe oil paint is the most versatile paint medium and best to start out with. If you are feeling conflicted about whether you want to paint in acrylic or oil, you can read the ‘oil painting VS acrylic‘ to find out which might be best for you!
When you have your palette you will need paint to put on it! I personally use quite a few colors on my palette. However, for starting out I do not necessarily recommend using too many colors. Just getting used to color itself is a little bit of a scary thing in the beginning.
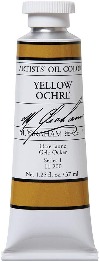
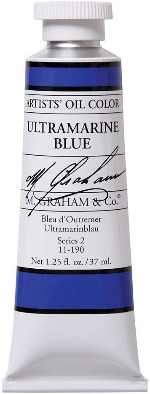
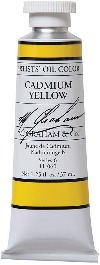
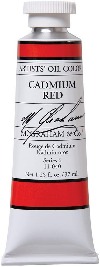
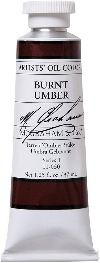
Below you will see the basic color list I recommend. With these you will be set to mix all of the colors you need for starting out. There is no black on this palette as I believe the best blacks are mixed. Ultramarine Blue and Burnt Umber can be mixed with this palette for a nice black.
Full palette color list
If the above color list still feels a little bit overwhelming you can start yourself out with a limited palette instead. With this, you can focus yourself on tone and value instead of color. Over time, as you become more comfortable with color you can slowly add more colors.
Limited palette color list
I did not add orange here as you can mix your own orange from red and yellow.
Different grades available
There are generally two different types of oil paint with every brand – student grade and artist grade. Artist grade is the best and highest quality version you can get and is more expensive. Student grade paint however tends to have a lot of fillers in it and therefore less color. Whereas artist grade paint has a much more pigment with no fillers – in the end you probably will use less paint using artist grade versus student grade paint.
I recommend Williamsburg paint, I love the colors I get with their paint. However, this is a more pricier option. There are many other wonderful paint brands out there as well such as M. Graham Oil paints. Read essential paint colors for beginners for more information on colors and oil paints.
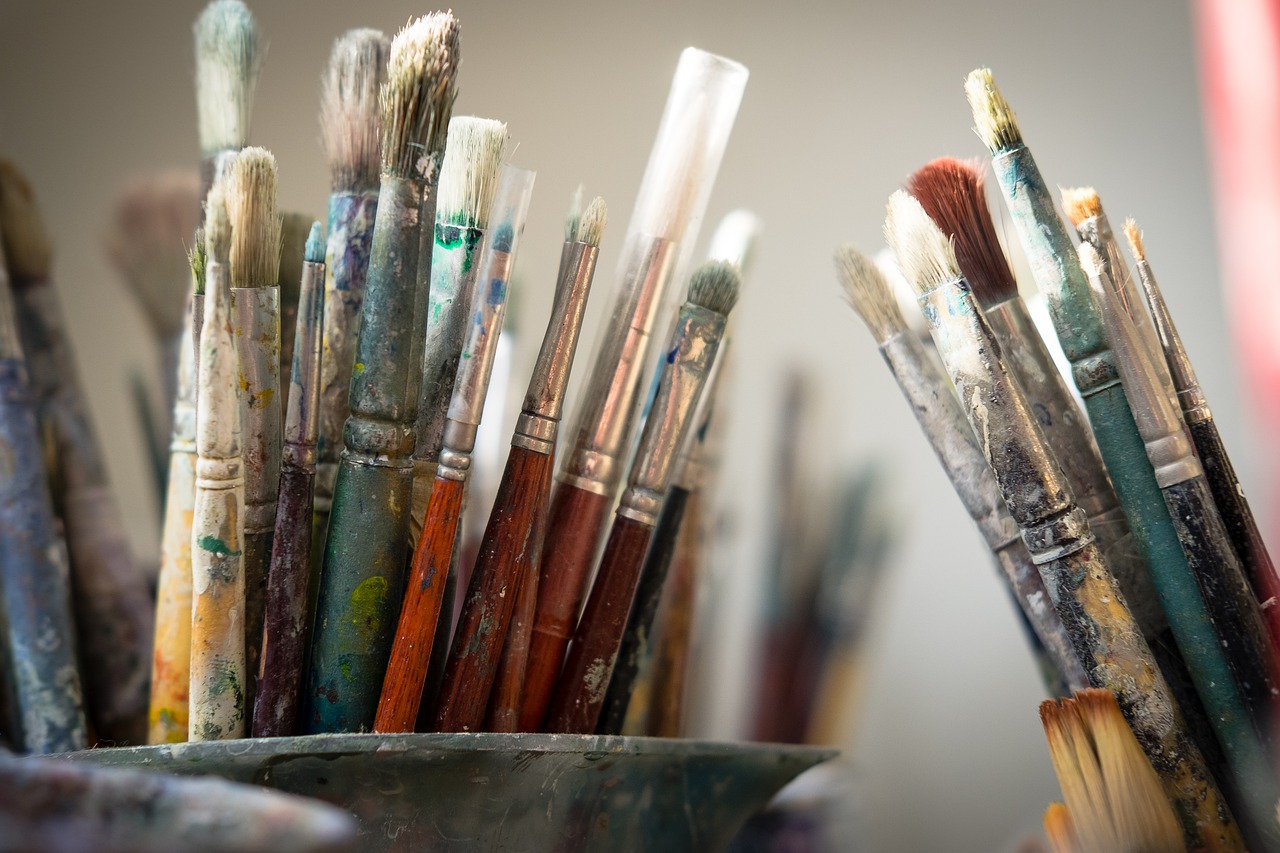
Best Paint Brushes for Painting Beginners

The brushes you use to paint with are very important. They ultimately determine what kind of mark is left on your painting. It is therefore important to choose them wisely.
It is recommended for painting beginners to start out using larger brushes. Doing so keeps you from getting too involved in unnecessary details. You need to concern yourself first and foremost with the most important elements in painting – getting a sense of light, space, and color. Getting yourself too imbedded in details with small brushes will take you away from focusing on the important elements.
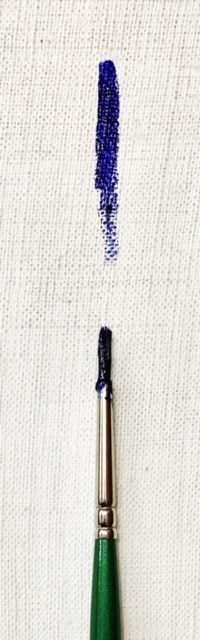
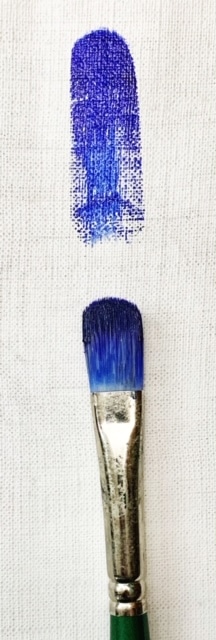
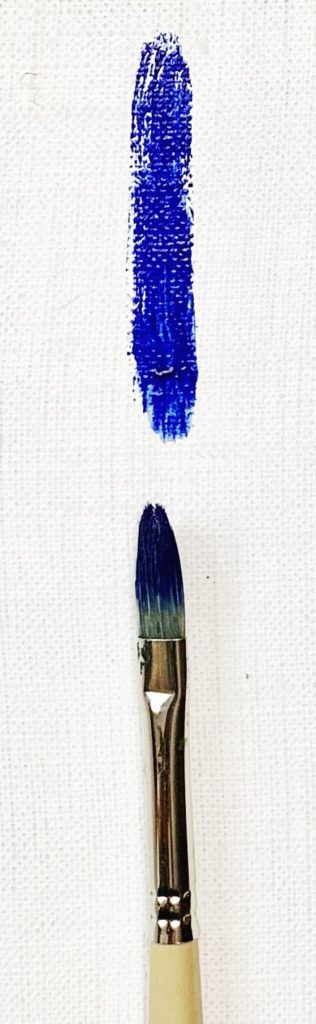
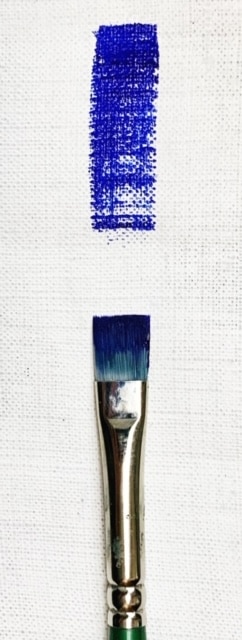
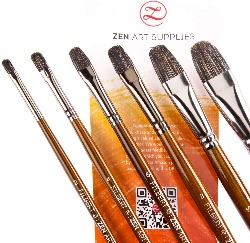
I recommend using filbert brushes, rounds, flats, and brights. The approximate shape of each can be seen to the right. There are different hair types available for each brush. You need only concern yourself with bristle and synthetic brushes. I recommend having some of each.
Synthetic vs Bristle brushes
Synthetic brushes tend to leave softer marks – not showing as strong of a brush mark as bristle brushes do. Bristle brushes are coarser in texture so naturally leave more of a mark. Having some of each gives you more variety in your painting and you can get an idea of which you might prefer. If you want more information on brushes check out the Ultimate Brush Guide.
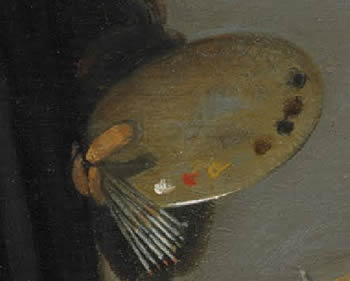
Examples of brushes used in painting
In the above detail by John Singer Sargent you can notice how he used large brushes by the size of the visible brushmarks. He did not allow himself to get caught up in unimportant details. Large brushes help you to think economically and keep a sense of freshness in your work.
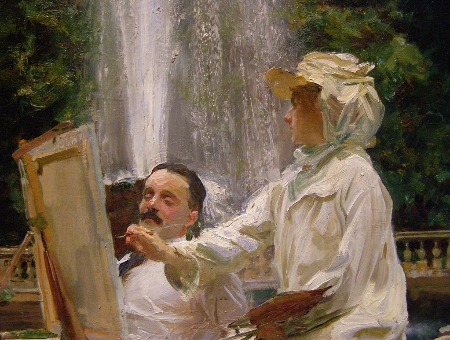
As you become a more experienced painter you can add smaller brushes. Over time, you learn to use smaller brushes correctly as you learned how to see like a painter while using your larger sized brushes.
Also, notice the economy with which it was painted. Broad strokes are laid down instead of fussy small marks. The image has a sense of light and shadow because Sargent paid attention to what was most important in his subject.
Lastly, it is very important to take good care of your brushes. You want them to hold when and last for a while. The best way to make certain that your brushes will have a long life span is to wash them properly after each painting session. Learn how to clean your brushes in this guide.
Painting Surfaces Best for Beginners
Canvas and linen are the two main different types of painting surfaces. I personally prefer painting on linen the most – it has a lot of “tooth” and great texture. Wood panels have a smooth surface to work on and are also a great option to try out. Learn more about the advantages of Linen versus canvas and which is best for you.
You can purchase pre primed linen/ canvas or gesso it yourself. I would recommend to stay as far away from canvas boards as you can. It is a very cheap surface but is difficult to paint on. However, you’re also able to get a great painting surface by learning how to gesso your own canvas.
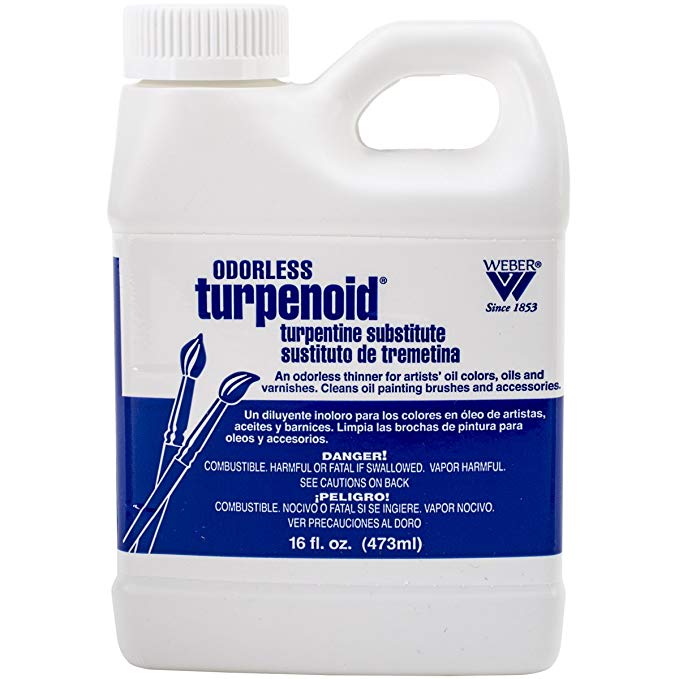
Linseed Oil and Turpenoid
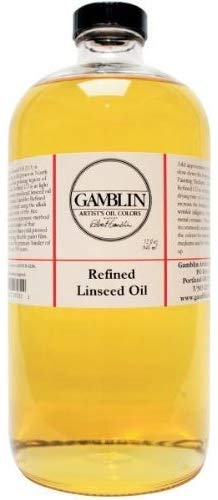
Linseed oil and turpenoid are necessary for a couple of reasons. You use them to thin out your paint (if needed). Turpenoid is traditionally used in the beginning of a painting – as it allows one to start out thin and build on top of that layer.
Linseed oil is a little thicker and is best to use after using turpenoid in your initial first ‘layer’. You can however get away with just using linseed oil instead of turpenoid. Some are sensetive to the scent of turpenoid and have a difficult time being around it. Learn more about oils in the oils for oil painting guide.
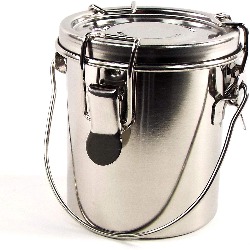
Also, use these two liquids in a brush cleaner. You will need a brush cleaner to periodically clean your brushes throughout your session and after you are finished.
Best Easels for Painting Beginners
An easel is an important part of your painting practice. There are many different types of easels to chose from however! Below is a brief description of each to help you find which suits you and your painting space the best.
A Frame Easel – Triangular form easel that are not the sturdiest but fold up easily
H Frame Easel – : These easels stand on a sturdy square base and are great for working on large pieces.
Convertible Easels – Great for artists working in different types of media – especially watercolors and oils.
Single Mast Easel – One of the most affordable options but is one is not as sturdy as others
Tabletop Easel – Great for artists who like to work sitting down.
Plein Air Easel – Great portable and light easel for landscape painting.
For more detailed information on easels and which might be best for you, you can read the ‘Ultimate Guide to Easels.’
Palette Knife

I always paint with a palette knife in hand! I never use the palette knife to apply paint to canvas. Rather, I use the palette knife to draw and scrape away with.
Palette knives are also excellent to use when mixing larger quantities of paint. You will find as you learn to paint that palette knives have many uses.
Review of necessary Supplies and materials
- Paints
- Painting Surface- wood palette or glass
- Palette knife
- Brushes – a set of larger sized synthetic and bristle
- Easel
- Palette
- Rags
- Linseed Oil and brush cleaner
For more information on supplies for beginning painters check out the ‘9 must have items for beginning oil painters’.
Learn To Simplify
Now that you have all of your painting supplies in order, you are ready to paint. However, before getting your paints out here is one of the most important of lessons to take with you before you start. It can be summed up in one word – simplify. It sounds easy, but you will find out that it really is not.
What does simplifying mean and why is it important?

The painting above by Edwin Dickinson is a beautiful example of simplification. As you can see by the work, simple in this case does not mean uninteresting or uncomplicated.
Rather, simple means that there is clarity in the light and shadow structure of the work. We can see in the piece where the brightest bright is, the darkest dark and all of the elements in between.
Dickinson paid more attention to the value structure (light and dark) than the subject he was painting. In short, this painting is an example of the importance of the fundamentals of painting. Continually paying close attention to the basics of painting is what will make you grow and develop as a painter.
As simplifying in a painting can be quite difficult there are some tools that might help you along the way. I outlined 4 of my favorite tools in this ‘simplifying while painting guide‘.
For more painting tips you can read ‘5 oil painting tips for beginners.’
Recommended Beginning Painting Materials


2 thoughts on “Ultimate Guide for Painting Beginners”
Dear Elisabeth.
It’s truly enormous and admirable what you’ve already made available to us beginners in terms of written materials and videos.
Unfortunately, I’m also a late beginner, and unfortunately, I ended up with acrylics.
But I fully appreciate all your so well-structured lessons and tips that draw on your long and rich experience.
Thank you so much for your selfless help.
Mit freundlichen Grüßen
Elisabeth Liese, Germany
Thank you so much Elisabeth for your very kind words – I really appreciate it! 🙏 Am so glad that my information and videos are helpful – it is an honor to be able to share. I wish you much joy in the learning journey! Lovely that you are from Germany – Ich bin in Bayern aufgewachsen, bevor wir als Familie in die USA umgezogen sind 💙