Figuring out how to paint a landscape can be difficult, especially if you have not done it very much…
However, by knowing and understanding how to apply certain painting fundamentals, will help you greatly when painting landscapes!
In this landscape painting tutorial, you will learn the steps to take so that you can easily approach painting landscapes.
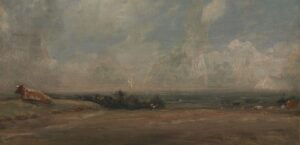
The inspiration for the landscape painting in this tutorial, is taken from a scene in Yorkshire, England. I love the rolling hills in that area of the world…
Let’s get started!
How to paint a landscape sketch
The very first thing you need to do (as always) when starting to paint a landscape, is to put an underpainting over the canvas to cut its stark white color.
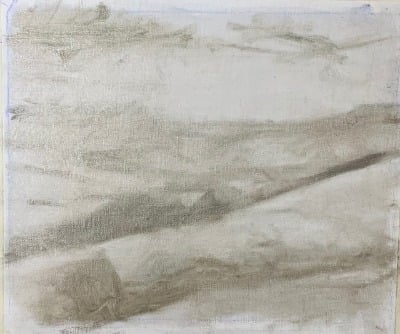
Next, create a brief drawing of what you are painting. I just put down the general architecture of what I was painting. In addition, you can also fill in areas a little more with paint to signify that they are darker (or take away paint if lighter). This helps to create a clear tonality in your painting.
Start your landscape painting with the sky
When painting a landscape, you want to try to start with the sky first. This is fundamental #1 when it comes to painting landscapes, as the light of the sky will determine how the landscape will be illuminated.
For example, if the sky is ‘cloudy’ then the land will be cloudy to. It is important for the sky and land to ‘match’, so starting with the sky first will help you to achieve this.
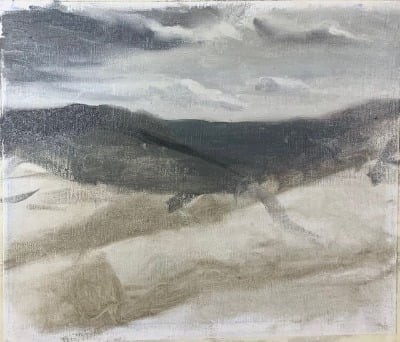
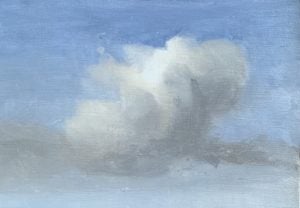
For the sky to the right I mixed a lot of muted blue colors – the aforementioned tutorial will teach you about this. Clouds can be difficult to paint as there is a lot of subtlety involved when painting clouds.
Next, start to paint the first strip of land that ‘touches’ the sky in your painting. Try to get these two areas to match as much as you can when you paint a landscape.
Use color temperature to create space
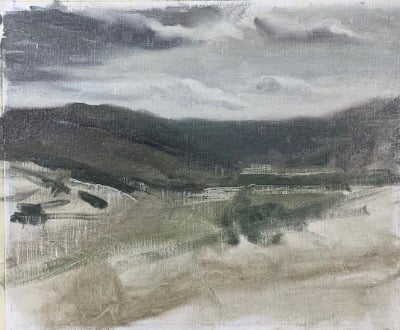
Notice in the painting that the hill on the middle right is bluish in color and therefore cool in temperature. Contrast this with the hill on the left which is reddish and therefore warmer in temperature.
Warm colors make things feel closer, cool colors things further away
Here is another fundamental you can utilize when painting landscapes in action! Objects farther away are cooler in temperature while objects close up are warmer in temperature. You will find this is true when observing landscapes in nature. Paying attention to this fundamental will help you to make your landscape painting have a greater sense of space.
Painting the middle ground of the landscape
Now, it is time to pay attention to the middle ground in the painting. Just like in the sky, you want to each are to match each other. So, in this case, we want the valley to match the hills.
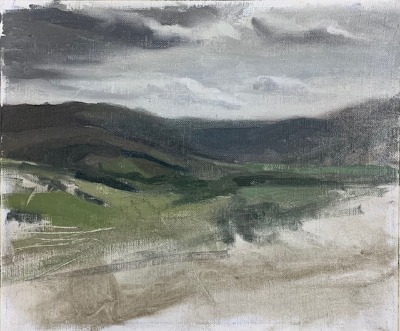
The idea of matching can also be thought of as ‘harmonizing’. You want the colors to all harmonize with each other so that your eye moves fluidly through the painting. To achieve this successfully involves creating smooth transitions. So, the temperature of the ‘green’ valley area in the painting is a similar temperature to the hill it descends from but different enough to differentiate it from the rest of the painting.
If you haven’t yet – Grab my FREE Color Mixing Guide for color mixing help and techniques!
How to paint a landscape’s foreground
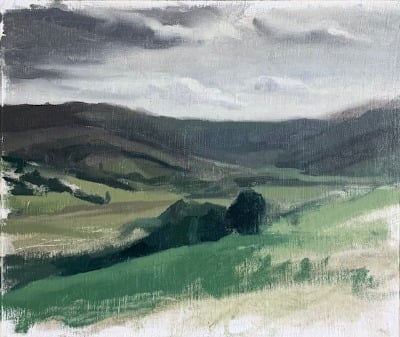
In order to make your foreground stand out from the rest of the landscape you must make the color richer and darker tonally. When you do so it will feel much closer to the viewer and as a result make your painting have a strong spatial element.
Also, it is important to make objects up close with sharp edges and objects further away with soft edges. Soft edges make areas feel further away, while sharp edges make areas feel up close. It is important to look for a variation of edges. The greater the variety of edges, the more interesting your landscape painting will be. Learn everything you need to know about edges in art here.
Painting a landscape’s finishing touches
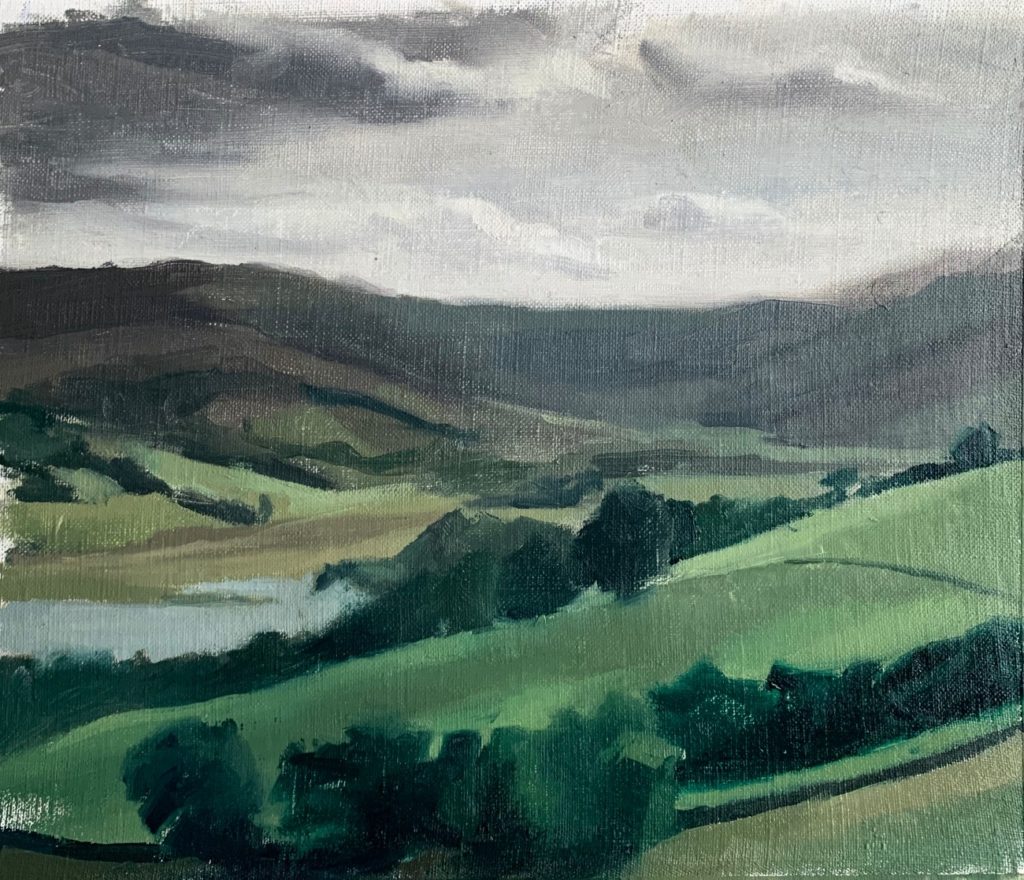
When you are wrapping up your landscape painting, pay attention to the ‘big picture’ elements. First and foremost, make sure that there is a clear light structure in your piece.
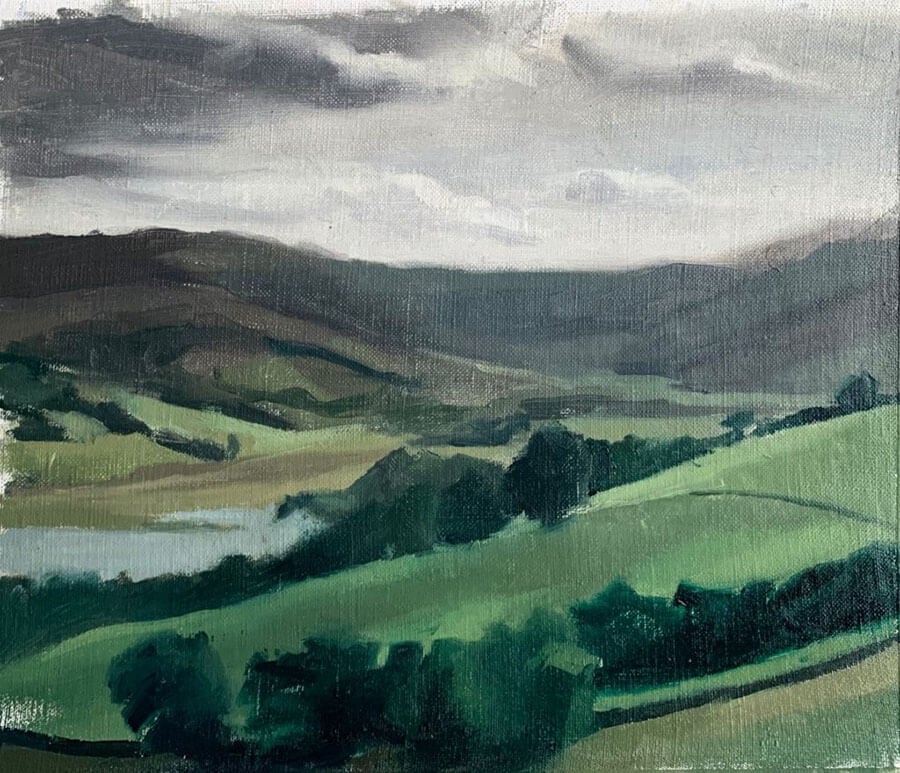
Take a step back from your piece so that you can view the piece from further away. This way you will be able to see the whole piece at once and notice what changes need to happen.
Here are 5 landscape painting tips that will help you even further in your next venture of painting landscapes!
A Summary of the Important Points
- Make an underpainting and line drawing on your canvas
- Start by painting the sky first
- Warm Colors make things feel closer, cool colors things further away
- Make the colors of the different areas of your landscape harmonize with one another
- Make the foreground area darker tonally
- Edges are sharper in the foreground and softer towards the background
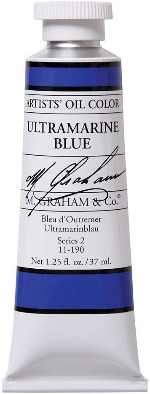
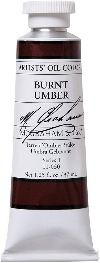
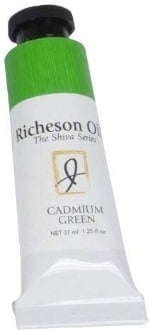
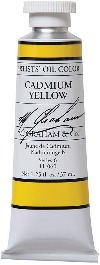
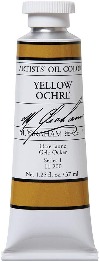
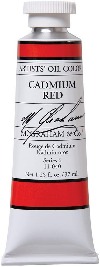
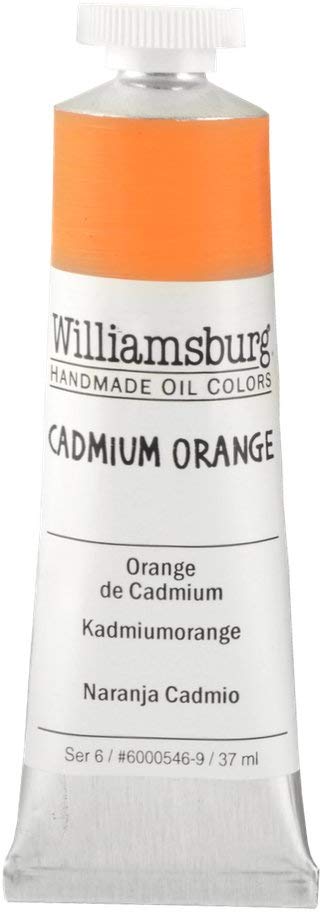
Paint colors used In this tutorial
Want to remember this? Save How to Paint a Landscape Tutorial to your favorite Pinterest board!




9 thoughts on “How to Paint a Landscape: Step by Step Landscape Painting Tutorial”
Gracias por su enseñanza excelente
You are very welcome!
אליזבת יקרה
תודה רבה על ההסבר הדידקתי וברור
נהנת ללמוד מההדרכות שלך
בהערכה רבה
רותי כהן
את נפלאה
תודה רבה על השיתוף רותי! תמיד שמחה לשמוע את זה 🙂
When will the Foundational Painter class be offered on line again? Love your teaching style and would love to explore
Hi Keely, Thank you for your interest! The Foundational Painter class will be offered again this fall 🙂
Looking forward to all your posts! Your teaching is clear, concise and immediately usable.
So glad to hear, thank you!
Thank you Margaret! I am happy to hear that!