Learning how to start oil painting can feel like a daunting task, but let me tell you a little secret – there is a process, that once learned can make starting that much easier!
In this article, I’m going to share with you five important first steps to help you kick-start your oil painting. From setting up your canvas to sketching your first outlines and laying the foundation with an underpainting, we’ll demystify these initial steps, just as I did in my early painting days. So, let’s dive into the beautiful, transformative world of oil painting!
Prepare your canvas
It is important that you have a properly primed canvas when first starting out your painting. You can either purchase an oil primed canvas (or acrylic primed canvas).
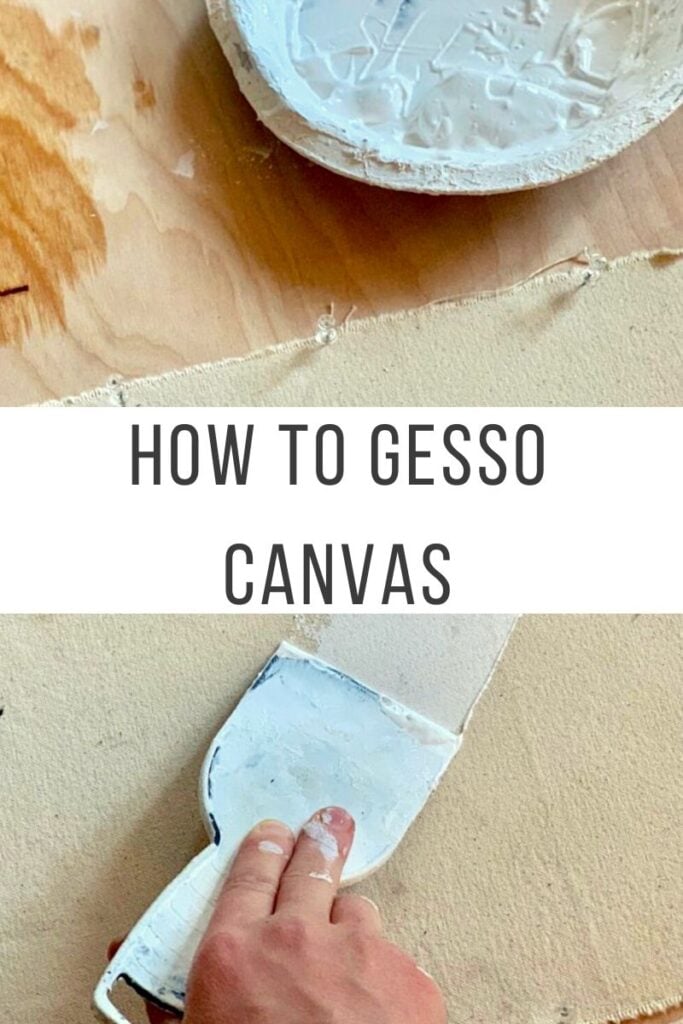
One thing to note, is that if you’ve purchased unprimed canvas, you’ll need to prepare your canvas before applying any paint. This involves applying an initial coat of gesso to prime the surface and create a barrier between the paint and the canvas fibers. Doing so, ensures that your artwork is protected from any impurities in the linen and will last for years to come.
Start oil painting with an imprimatura
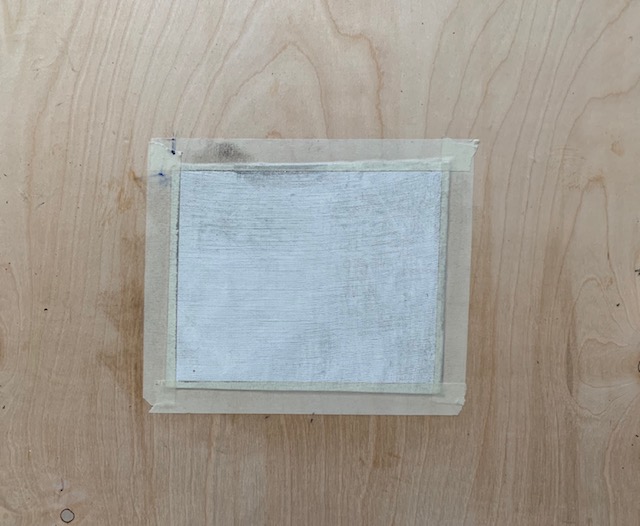
An imprimatura is a very important step of starting a painting. Painters have used it as far back as the middle ages – though it became standard practice during the Renaissance. Essentially, it is a monochrome base that allows you to establish the key and color of your painting before adding anything else.
Reasons for an imprimatura
It is a bit difficult to start on a blank canvas for a couple of reasons. One being simply the fact that it is a blank and stark white canvas can make it mentally difficult to make a start. Putting a light wash of color over it gets rid of that crisp clean whiteness and makes it so you can make it ‘messy’ with your paints.
The second reason is a little bit more practical. When starting on a bright white canvas it is hard to determine what the values of your colors are. Anything next to something that is bright white will look much darker than it is in actuality. Thus, it can be easy to ‘accidentally’ paint everything too light when starting on a bright white canvas. Therefore, again, putting a light wash on your canvas is extremely helpful.
Create a painting sketch
A painting sketch, is a preliminary drawing you make on your canvas that will help guide where your painting will go.
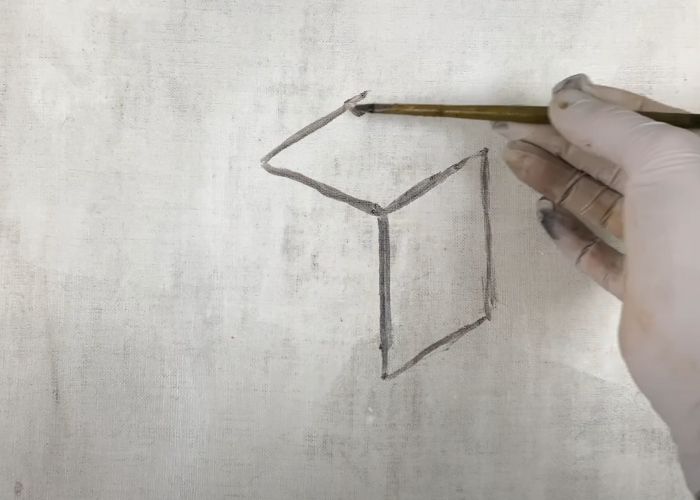
Whether you are working from observation or imagination – follow the movement of the line and try to capture a general sense of its ridges. They key word here is general. This is not meant to be a completely exact drawing – you will be saving the perfecting and exacting for when you start your painting with color.
Create an oil underpainting
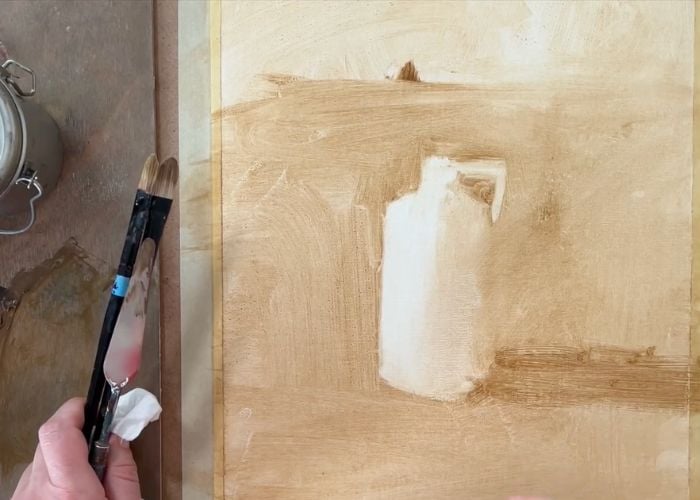
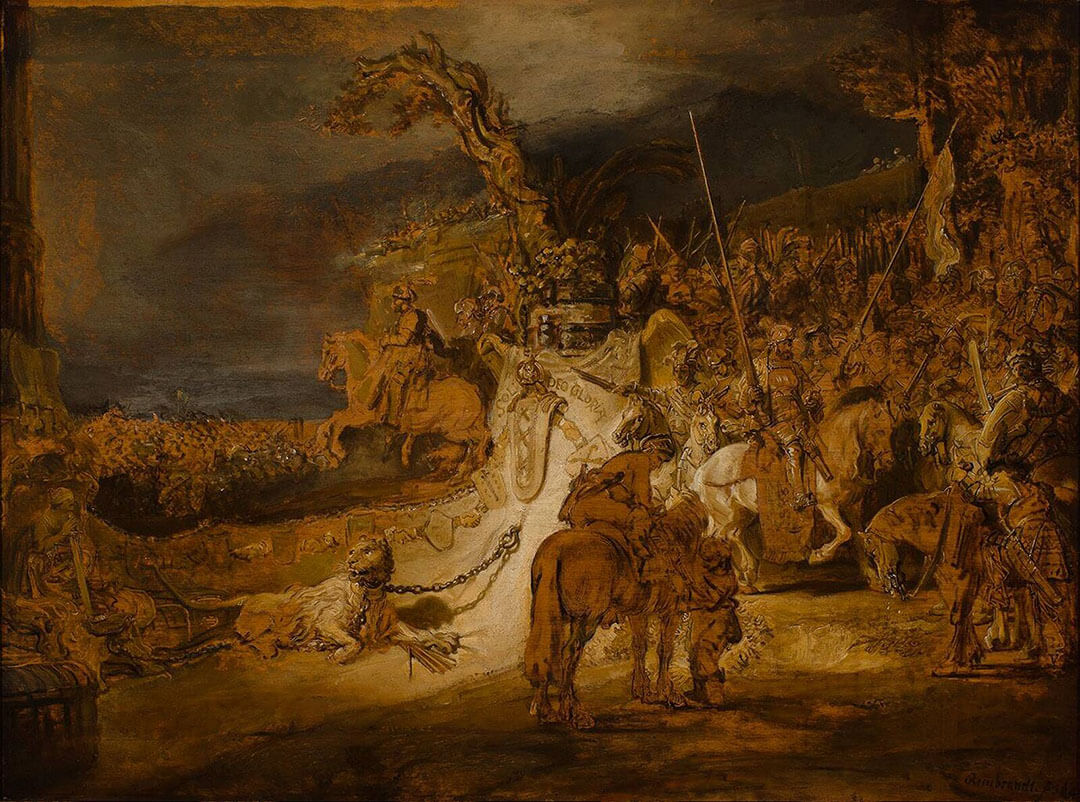
An underpainting serves as the foundation for a painting, applied before the more advanced layers are added. Various techniques can be utilized, but the most prevalent involves a monochromatic layer. This initial step establishes the composition, values, and shadows, effectively. Which provides a roadmap for you to follow as you build up the subsequent layers and colors into your painting.
How to start oil painting, by applying first colors
It is important to think of color values first while you’re painting. Doing so will help you create a believable sense of light in your paintings right from the start. One of the best ways you can achieve this, is by thinking in terms of color spots.
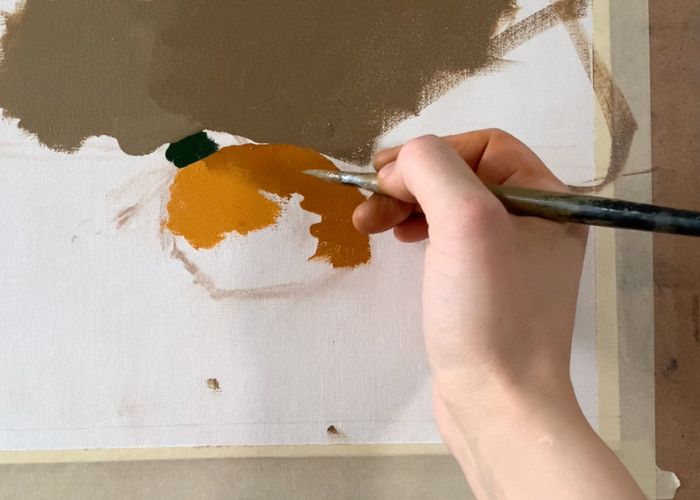
By learning how to use spots of color in your painting, you’ll completely revolutionize the way you see and paint. You can move away from fixating on the end result and instead appreciate the vibrant hues that shape it.
In conclusion, starting an oil painting can be a little overwhelming at first, but following these five steps will help ensure that you have a great start to your painting. First, make sure you have a properly primed canvas and then apply your first layer of paint (imprimatura). Next sketch out your layout and take it further by creating an underpainting. This will help you determine your composition and value structure! Finally, you’ll begin adding color to your painting–remembering to focus on first 3 color values right from the start. With these five steps as a guide, you will be able to begin creating beautiful oil paintings in no time!
Want to remember this? Save How to Start Oil Painting to your favorite Pinterest board!




28 thoughts on “How to Start Oil Painting: Important First Steps”
I’ll soon start painting for winter days .Your advise is looked at.I began with gesso and a yellow acrylic base.
Your help and fun. Thanks!
Thats great! So glad this is helpful
I have recently purchased oil paints and have never used them. I was wondered what some good materials are to purchase such as canvases.
If you are new to painting, it might be worth to purchase pre-primed linen. However, it is very important to get good quality primed canvas/ linen otherwise you will get very frustrated. Cheaper painting surfaces are very rough and feel more like sandpaper – it is difficult to get the paint down on such a surface. To start, I recommend centurion oil primed (or acrylic primed) linen pads.
Is oil painting toxic if you breathe it in? Between watercolor and oil painting, which one do you think is easier for beginners?
No oil paints are not toxic to breathe in. However, if you are making your own oil paints with powder pigments – the pigment powder can be toxic to breathe in. Watercolors and oil paints are both difficult for different reasons. If you are wanting to do oil painting, I wouldn’t start with watercolors first unless you are also wanting to learn watercolors. If you are a little apprehensive to start oil painting, then it will be good to start doing tonal drawings with charcoal – this is a great preliminary step.
Hi Elisabeth.. thank you for this useful article. I’m painting landscapes at the moment and wonder how the colour spots work when there are perspectives to consider. Do you do a colour spot for the distance, mid and foreground?
Hi Gill, you are so welcome, glad this is helpful! Yes, you would do color spots for the distance, mid and foreground areas of a landscape. It is quite amazing how color alone can create space. A good general rule to keep in mind is that colors in the distance tend to be cooler in temperature and lighter in value, while colors in the foreground tend to be warmer and darker in value. In addition, colors in the distance tend to have softer edges (they are closer in value to one another), while colors closer up have sharper edges and greater differences in value. This article goes into greater depth into these elements
Retouching varnish is pretty much essential if you are going to continue working on a painting after some time – the oil in the original pigment makes it pretty difficult for fresh paint to adhere when applied. Hope this is helpful!
Yes retouching varnish is very helpful for what you describe. Using linseed oil to “oil out” an area before you go back to it later is also helpful to get the paint to adhere to it well.
You can also use acrylic paint thinned with water for your imprimatura, same colors as you suggest, just in acrylic. Dries quickly. It follows the ‘fat over lean’ rule and that’s why it’s okay. Of course, you couldn’t paint acrylic over oil.
I do this because I try to avoid using solvents due to their health hazard.
Hello Ro, Yes you can use acrylic thinned with water as an imprimatura! It is definitely a good option if one wants to avoid using turpenoid as you mention. You can also use linseed oil to thin the paint – but it would of course take longer to dry.
Thanks for this info it was very useful.
You are very welcome Jack!
אליזבת
הדרה יסודית מאוד להתחלה
לציור בצבע שמן,במה לצבוע את הרקע הלבן?
תודה רבה
רותי כהן
היי רותי,
אני פשוט משתמש בכמות קטנה מאוד של אומבר שרוף וכחול אולטרה-מרין. אתה יכול גם להשתמש באוקר צהוב, אומבר שרוף בפני עצמו, סיינה שרופה או צבע אחר בגוון אדמה. לאחר מכן אני מערבב את הצבע עם טרפנואיד לפני מריחת שכבה דקה על הציור שלי. מקווה שזה עוזר ועונה על השאלה 🙂
תודה רבה אליזבת,הההדרכה מועילה תודה על המידע המקצועי
בהערכה רבה
רותי כהן
רותי יקרה,
טוב לשמוע ממך שוב! אני מקווה שהכל בסדר מצדך. אתה כל כך מוזמן למידע. אני שמח לשתף!
Hello Elizabeth!
Is your father Carl Larson?
Hi Marie, I have no relation to Carl Larsson unfortunately. But I do have some Swedish heritage 🙂
Many many thanks for sharing this valuable information. It really helps beginners like me. You lay the foundation for all us starters. God Bless.
I have a question. Is it necessary only to use oil primer for oil paintings, for longevity.
Hello Ronald, I am glad to hear that the tutorial was helpful! Good question – as far as longevity is concerned it does not matter whether you use oil primer or acrylic gesso primer to prepare a painting surface. It is more a matter of personal preference since the two surfaces are quite different to work on.
Two art teachers recommended that we use acrylic paint to cover our canvas before painting with oils.
What is the difference?
Were they talking about gesso at all? Acrylic gesso is the most common primer (and easiest to use) to apply to canvas before it is ready to paint on. I recommend using acrylic primer as it doesn’t take nearly as much time to dry as oil primer does. After you apply your gesso though you will not need to apply any more acrylic paint before beginning with your oil painting. You can access a gessoing tutorial here
Very important information for start painting.
Thanks.
Glad to hear it is helpful! You are welcome.
I am an old painter! In experience and age and have a guestion. Do I need to use damar varnish on a painting I started before the pandemic, but have not worked on recently? Are artists working in oil glazing or varnishing a finished painting to preserve it? Thank you for your time! Cathleen O’Rork
Hi Cathleen, thank you for your question. If you want to continue working on your painting then I would recommend to not varnish it yet – but wait to varnish it when you are done painting. Varnish works very well to preserve a painting as well as give it a uniform finish. I have an article on varnishes that might be helpful for you 🙂