

One of the best ways to learn and develop oil portrait painting techniques is by doing a master copy. As it provides you with a composition that’s already defined, so that you can focus fine tuning your portrait painting skills – instead of trying to create something “new”.
The 19th century French artist, Edgar Degas, continued the practice of doing master copies throughout his life as did many other artists throughout history. Today, with the plethora of high resolution images available online, it is easier than ever to be able to study paintings from the past (and present).
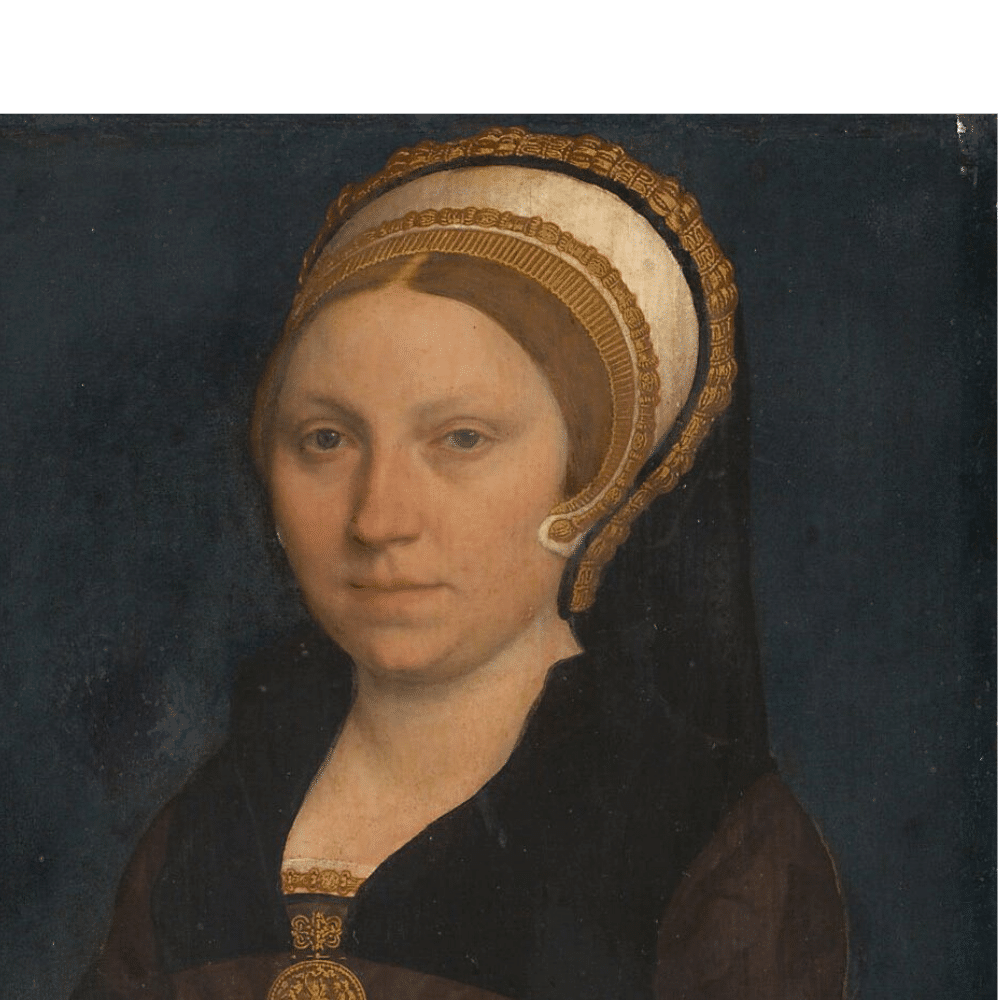
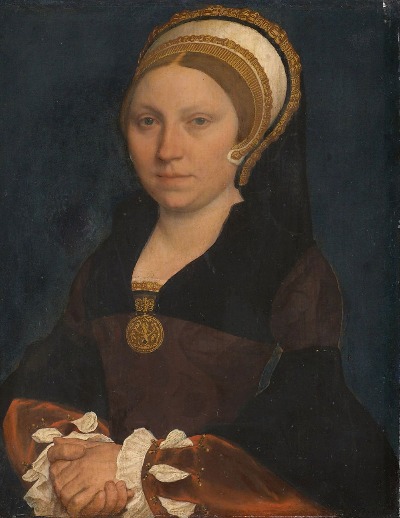
In this oil portrait painting tutorial, I will show you step by step how to deconstruct a work so that you can start studying paintings yourself! I chose to do ‘Portrait of an English Woman’ by Hans Holbein the Younger. I will show you the process of painting a portrait and doing a master copy at the same time.
A note about master copies
The point of a master copy is not to create an exact replica of the original, but rather to study and explore the work so you can learn from it. To get the most out of doing a copy you want to deconstruct what is in front of you. Ask yourself questions like ‘what is the simplest way I can approach this passage’ or ‘What color is this area compared to this other area’. In the end you come out of it having learned a great deal from the artist’s painting – and will be able to apply the lessons to your own painting.
Getting Started: Oil portrait painting tutorial steps
Brief sketch and Basic Value Shapes in the Oil Portrait Painting
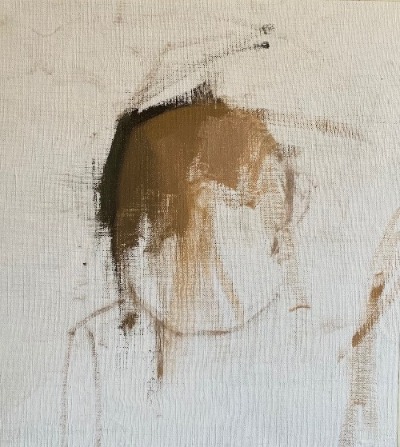
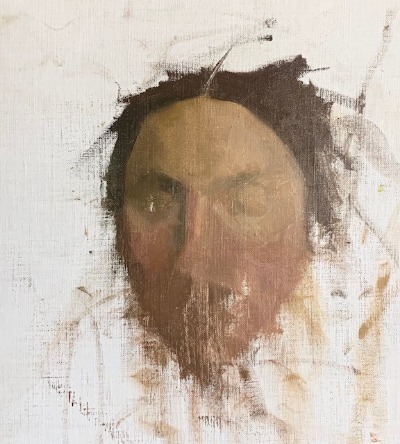
First, start out putting down a neutral wash/ underpainting to your surface. Once that is dry then start making a basic line drawing to get a general architecture of what you are doing. Then, try to find an ‘intersection of light and dark’. By that I mean finding an area that has a dark, middle and light value. You want to try to get a sense of light from the very beginning, and you will if you paint an area with a dark, light and middle value. Make sure you are painting these values in the same area so that they are next to each other. In the first stage of the painting to the right you see three general values represented.
If you haven’t already – Grab my FREE Color Mixing Guide for help with color mixing techniques in your painting!
Find First Shadow Shape
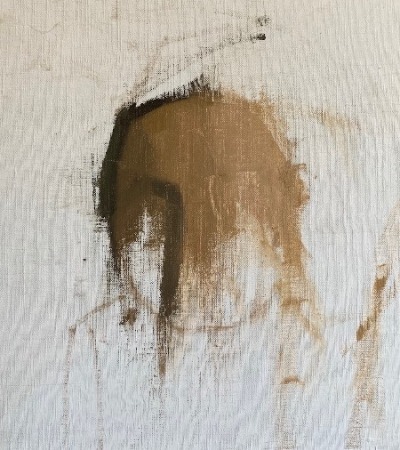
After you have your initial three or four values in, try to find your first value shape. In portrait, these are often found on either side of the nose depending on which side the light source is coming from. As you can see to the left, I found a shadow shape running from the ‘eyebrow’ area down the side of the nose. It is good to think of these shadow areas you find as having a distinct shape to them. The more you approach your painting in a geometric way, the better it will go for you.
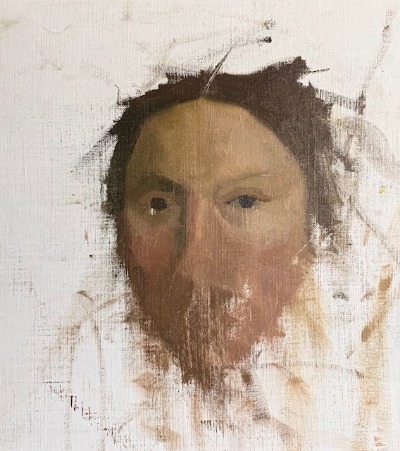
Continue Finding Shapes
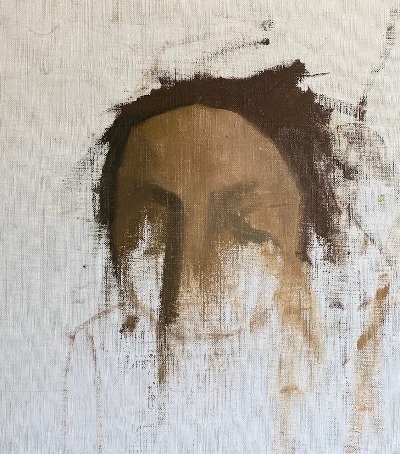
Continue by painting the areas that are right next to what you already painted. In this way, you are able to make accurate color combinations. It just makes it a lot easier to do it this way! Continue to find shadow shapes – in the example below, you will see that I looked for shadow shapes in the eye area on the opposite side of the face.
Do Not Be Afraid To Use Color in Portrait Painting
Do not be afraid to use more color in areas that are more ‘colorful’ and darker in value. Continue to try to look for shapes that are in the portrait. For example, you can see the darker shadow shape on the right side of the face as well as the lighter shadow shape under the eyes.
Find The Shape Of The Eyes
When painting eyes, it’s important to focus on the shapes and colors that make up the area. So, as you have with the rest of this portrait painting so far, search for clear geometries as you work on the eye area.
Be sure not to make the eyes too dark as you want them to ‘sit’ in the eye socket. Also, notice the precise shape of the eyelids.
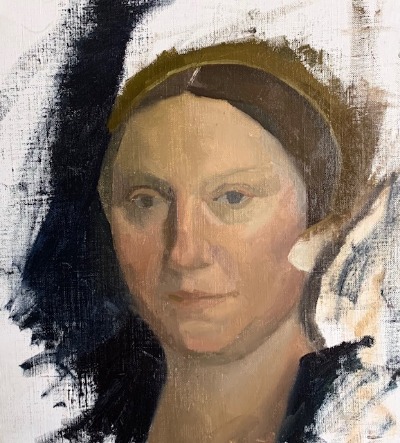
Nose + Mouth
Next we move into painting the nose and where it meets the mouth. For this, find the distinct shape of where the nose ends and the upper lip begins.
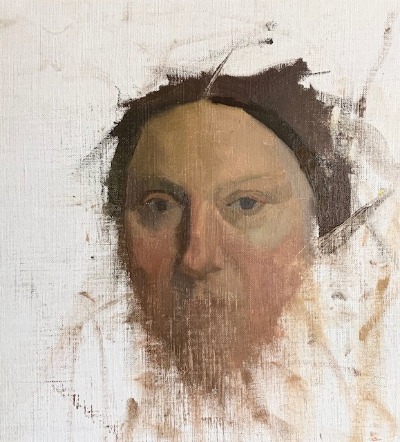
Also, you will notice the very thin light shape that is below the eye socket area. As well as the thin darker shape that on the nasolabial fold area.
Lip, Chin, Background
Carefully measure the distance between the nose and the lip. If the distance between is too short or long, it changes the likeness of a portrait quite a bit.

Next paint the lips. The trick is to make the color of the lips muted enough for them to appear natural. Follow the specific shape of the lips. The top part of the lips is typically a slightly different color and value than the lower part. So, pay attention to this.
Neck + Background
It is good to work on the background and portrait more or less at the same time. Doing so helps you to make soft edges between the edge of the face and background.
Also, find the shape of the chin and where it ends. Then work on the neck. Carefully note the changes in color and value in the neck.
Head
This painting is after Hans Holbein the Younger who lived in the 16th century. In this time period, many of the noble women would wear elaborate head dresses. So, the next step in the painting is painting this head dress!
Simplify
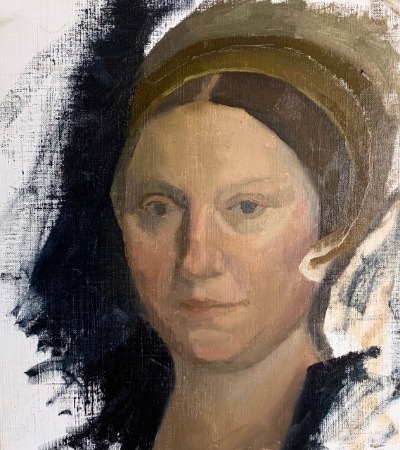
Just like the rest of the painting, simplify what you see. When looking at the original, you will see that the head dress is a very elaborate passage in the painting. So, trying to paint every exact detail of this would be a waste of time. The point is not to create an exact replica of the painting but rather understand and study it.
The Completed Stage

You are not obligated to fill up every white space of canvas, if you feel that you learned what you set out to learn from the painting – then you are done! The most important thing is to approach your piece with an attitude of wanting to explore and not striving for a finished product at the end. Ask lots of questions as you study whichever work you are looking at. Try to find the formal properties that are hidden when just passively viewing it. In the end you will come out with new found knowledge and skills you can apply to your own work.
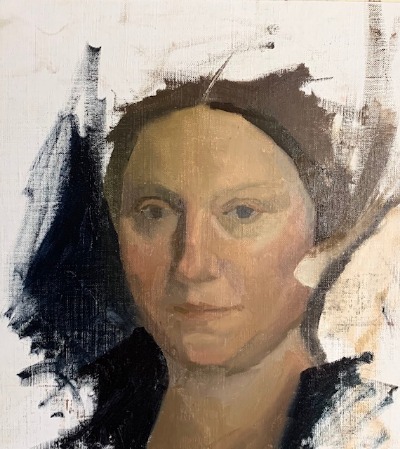
Hans Holbein the Younger’s original side by side with our master copy
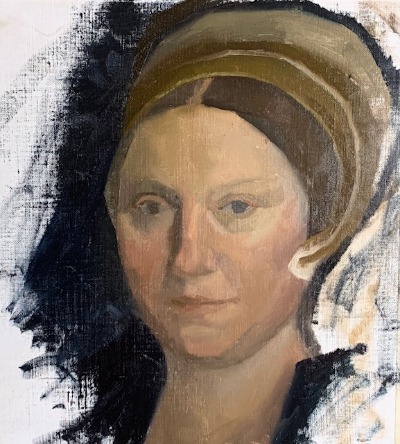
I hope this tutorial helped you to understand how to deconstruct paintings more as well as how to do your own master copy studies. Being able to do studies like these is a profound learning experience that allows you to connect with painting of the past and bring it into your own work in an alive and fresh way. Study from the painters you admire and you will notice the lessons you will learn show up in your own work.
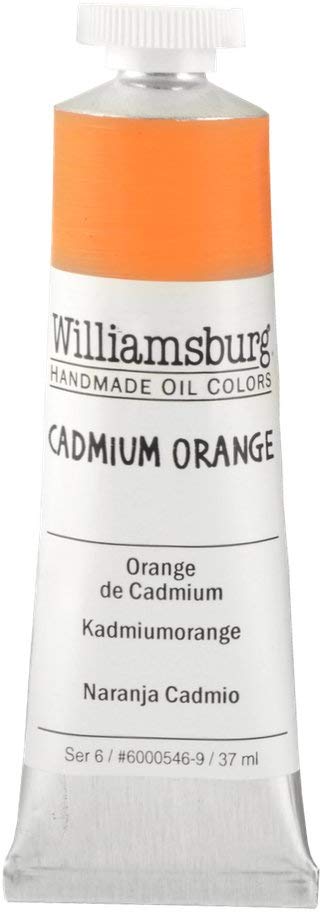
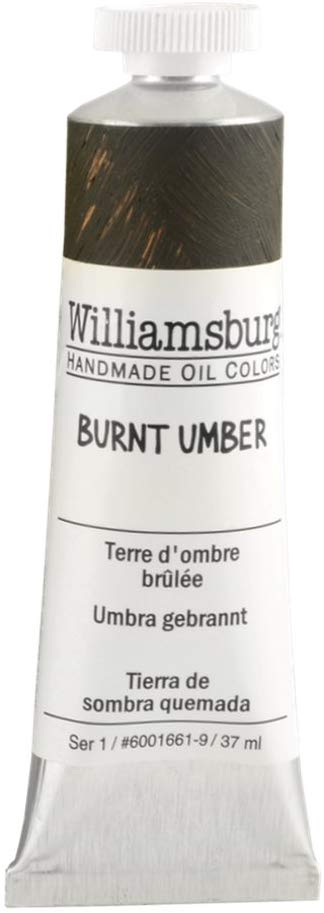
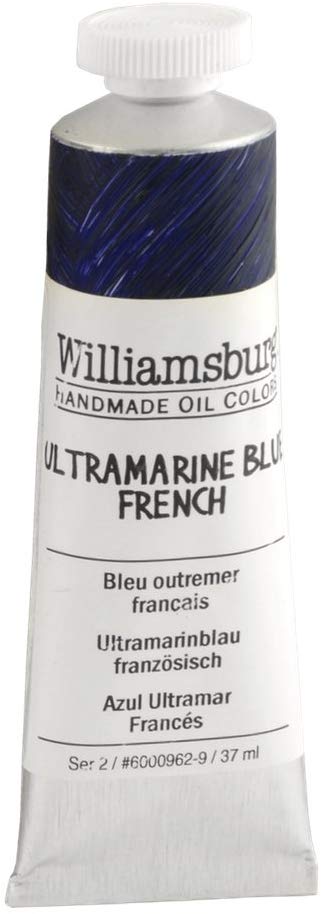
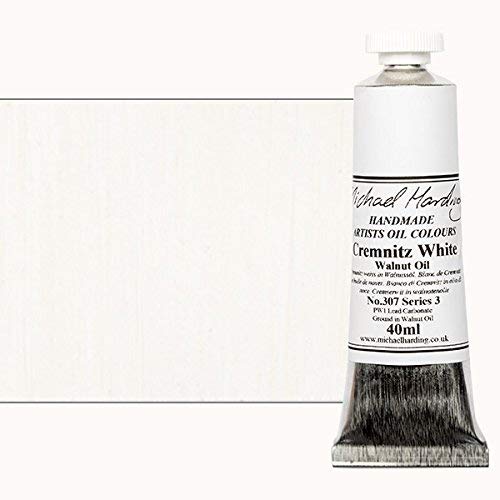
Where to find the colors used in this tutorial


9 thoughts on “Step by Step Oil Portrait Painting and Master Copy”
Your master copy tutorial helped me see things that I never would have noticed on my own, thank you so much.
Hi Terry, I am so glad to hear that this master copy tutorial was helpful! You are very welcome 🙂
עליזה בת שלום רב
עברתי היום שוב על ההדגמה
מועילה מאוד,
תודה רבה
בהערכה
רותי
שלום רותי, איזה כיף שעברת את ההדגמה! אני שמח שזה היה מועיל
תודה רבה אליזבט
ההדרכה ברורה ומלמדת היטב את בדרך לצייר ולצבוע, ההסבר
תודה רבה
המון טוב
רותי כהן, ומדגיש יפה איך לצבוע
תודה רבה רותי, טוב לשמוע ממך שוב! 🙂
Your master copy approach is very beneficial for me as a beginner. Thank you.
Very Happy to hear that!
Pingback: Painting Technique Tips from Velazquez - Art Studio Life