

As a painter it is important to see in terms of spots of color – this how all of the old master painters of the past worked. Breaking things down into areas of color completely revolutionizes the way you see and paint. It allows you to stop seeing an object as an object and instead view it in terms of a collection of color spots coming together.
What exactly IS a spot of color though? And how do we apply it to painting?
Why color spots are important
Before we go into the specifics of color spots I want to go over why color spots are so important in the first place. It is physically impossible for us to replicate and paint what we see in the real world. For one, we have an impossibly small value range available to us with our paints when compared to the real world. We cannot paint all the values that we see in real life, not to mention all of the colors.
Simplifying is necessary
Because of this, it is necessary for us to simplify when we paint. In addition, it is important to view what we see in terms of color and light and not as things and objects. Your painting will be infinitely more compelling and realistic if you do this.
What is a color spot?
A spot of color is a single area of paint, generally small in size but not necessarily so. It could be larger depending on how much you want to break your colors down.
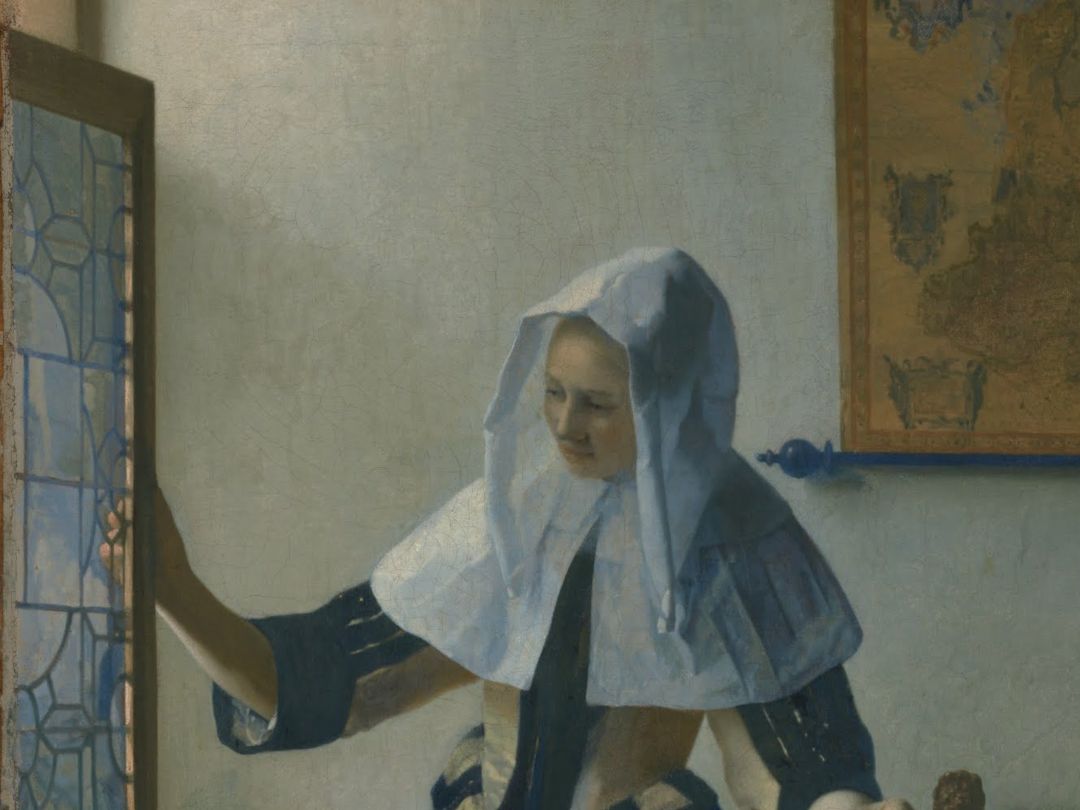
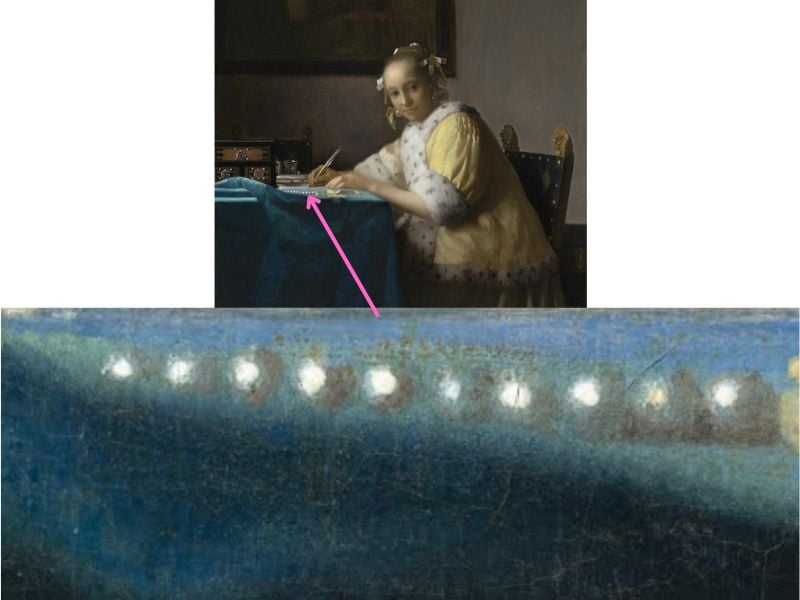
For example, in the detail below of Vermeer’s “young woman with a pitcher” you can see how the pitcher was built up purely with different shapes and spots of color.
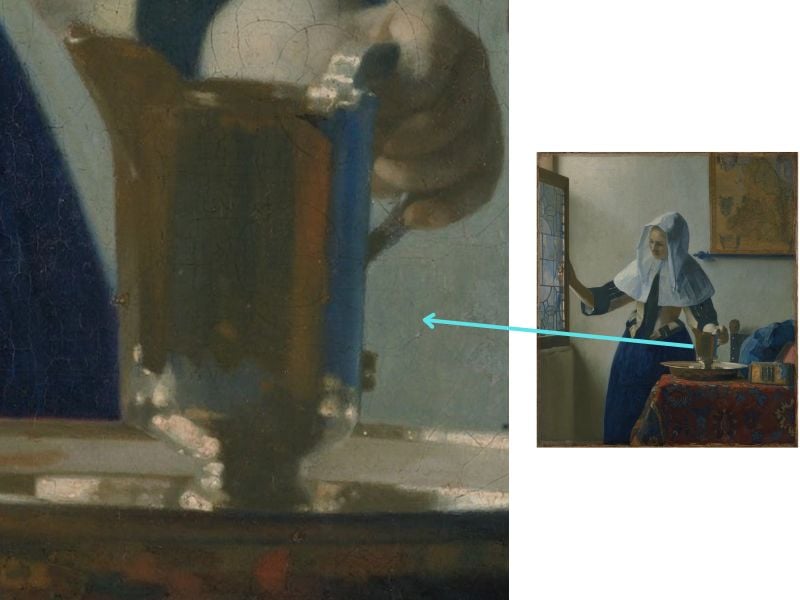
Vermeer grasped the necessity of not viewing something in terms of an object but rather a collection of color spots.
Notes of color
What makes painting so special is notes of color coming together and harmonizing beautifully in different ways. Painting with color isn’t very different from a composer creating a piece of music. Instead of notes you are composing with spots of color and creating a visual experience on your canvas.
How to “see” spots of color
To work in this manner is ONLY achievable when you train yourself to see in terms of color. It takes time to stop yourself from seeing objects as things instead of shapes of light and color. Looking at art that are good examples of using color groupings is a very good place to start.
Examples of color spots in art
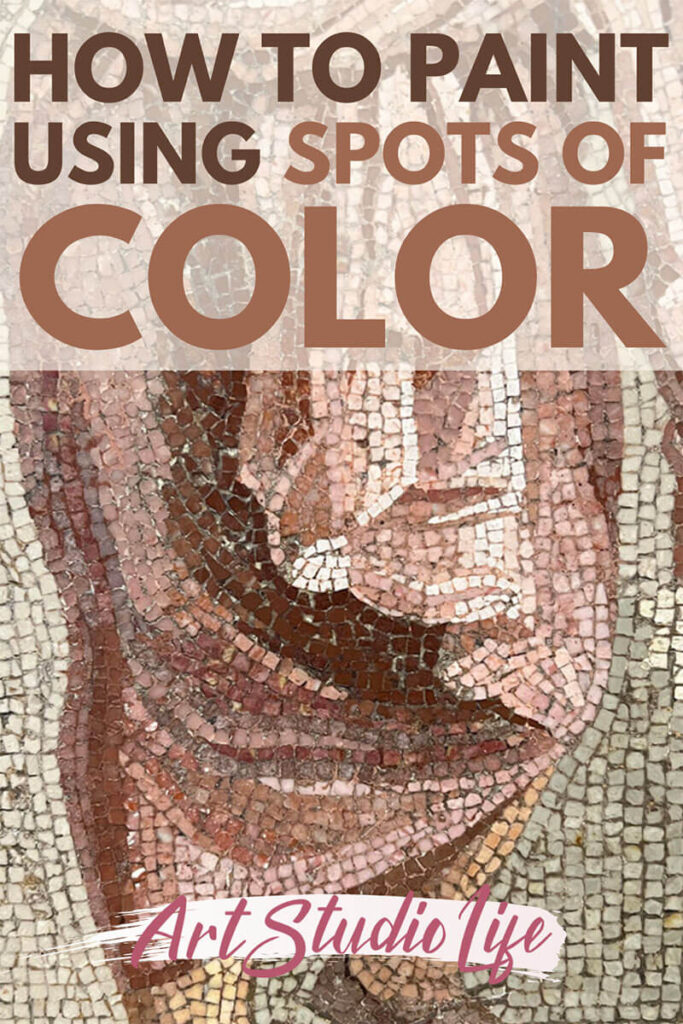
Even art from 2000 years ago can be of enormous value in learning to see color spots. Here is a Roman mosaic that is a truly splendid illustration of what spots of color are and their impact.

You can see how colored stones are placed to represent an area of color. The way the colors work together produces a specific visual effect.
Notice how it is spots of color that create the creases and folds in the toga worn by the man. We also see changes in flesh tone represented by different color spots in the small pieces of stone in the mosaic.
It is a terrific example of an image built purely with color spots. Though it isn’t technically a painting – the thought process is exactly the same.
How to paint with spots of color
Start by squinting your eyes and look at the scene you are painting. Notice how different areas of light and color come together to form an object or landscape. If you practice this first, it will make things much easier when you go to apply paint to canvas. Painting is about the way you think and see. The more you help yourself to see as a painter, the easier the painting process will become.
Begin by simplifying
Simplifying is one of the most important elements that is helpful for seeing and painting with color spots.
You can use visual tools to help yourself simplify more easily. Start by painting large areas of color – this will help you to get away from details and start capturing the essence of your subject matter.
When you start to be able to paint large shapes of color, you can break them down more. This is where you start to work at painting more subtle color transitions.
Start with simple subject matter
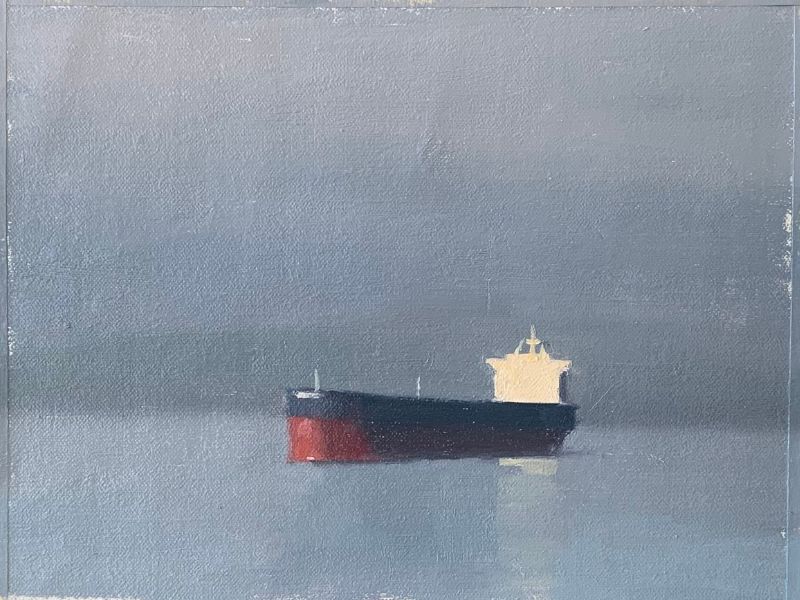
It is also very helpful to work from simple subject matter when training yourself to paint and see in terms of color spots. You want to eliminate any temptation to get into unnecessary details that will not serve your painting. Choose motifs that have large clear shapes of light and dark.
In addition, it is very helpful to start with an area that has three clear simple values. It is very helpful to watch a video demonstration on how you can apply this to your own painting.
Do small painting studies
I highly recommend to do small color studies as a regular practice to train yourself to paint with color spots. When you keep the paintings small it helps you to focus on really painting just the color you see instead of worrying about other elements in the painting.

It is incredibly important to implement color spots into your work. This is the manner in which all of the old masters of the past worked. The paintings we all admire in museums use color spots as the basis for the techniques used to create them.
When you start to see the world and paint in terms of spots of color and shapes of light your painting transforms entirely. You are able to elevate any subject matter from ordinary objects to extraordinary combinations of notes of color.


10 thoughts on “Spots of Color in Painting: What They Are & Why They’re Important”
I have to share this story: when I was 7 in 1952, I bought an oil number painting for $.25, which was all spots. When I was almost finished, it fell face down. My mother told me to try to fix it. I ended up blending most of the edges and I was so amazed with the results, no one thought it was a number painting. Blending “spots” is my favorite thing, even long after I stopped doing number paintings! Thank you for your wonderful tutorials!
Thank you so much for sharing this great story! Even though paint by numbers are quite simplified, they illustrate very core principals of painting. That must have been a wonderful moment to see how blending the spots made the painting come alive!
A great discovery for me. It was all a sudden so obvious but I never saw it. Thank you. Frances
Hi Frances, So glad to hear this was helpful and enlightening for you! Thank you for sharing.
Incredibly important information, Elisabeth. This is why good art instructors always tell students to squint. 🙂 Thanks for taking all that time to create such a fantastic post!
You are so welcome Marsha! Am very happy this was helpful 🙂
Excellent again, you are a good teacher and your thoughts are inspiring. I like the sunflower video, I would never have thought to introduce green into the yellow then alizarin. I do find that I am more able to paint more freely in oils than watercolour, where I tend to tighten up. I love the idea of spots. Thank you again.
Thank you Neil for your kind words. Am so glad this article was helpful and inspiring – thank you for sharing!
Hola Elisabeth:
Gracias por todas tus lecciones de pintura
You are very welcome Josep!