

Learning how to draw a rose is a fun and challenging subject to learn how to draw. However, as roses have a clear structure to them, it can help to make drawing a rose easy once you understand how to simplify what you see.
In this rose drawing tutorial you will learn how to draw a rose step by step. Each step will help you to break down what you are observing, so that you are then able to build up your drawing of a rose bit by bit.
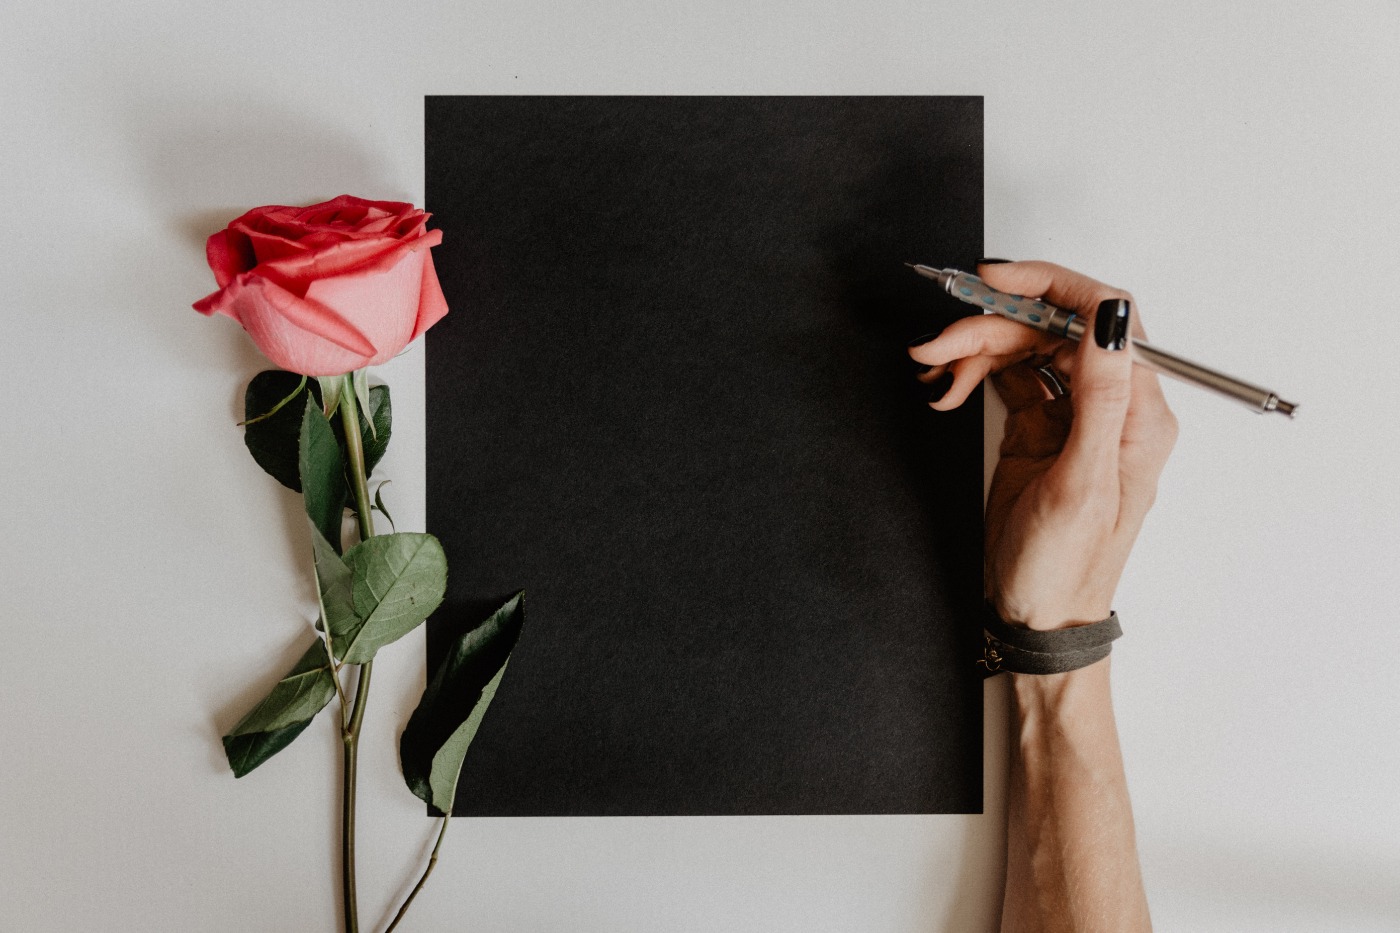
Drawing a rose materials
First, we will need the proper tools! The materials you need for this rose drawing step by step tutorial, are a 6B woodless pencil, Canson drawing paper and a faber castel eraser.
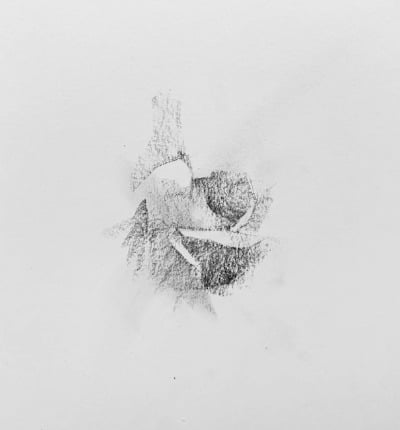
How to draw a rose step one – Finding your first petal
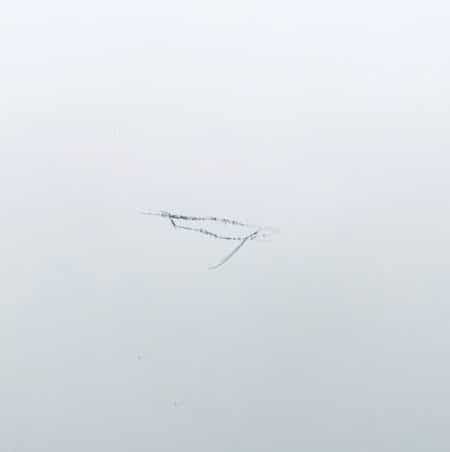
Start your rose drawing by first choosing one petal. Then draw the form of your one chosen petal as seen in the example above. Just keep in mind that your petal will probably look very different from mine as all roses are different!
Often, when learning how to draw a rose, starting with a petal in the center of the rose can be a good idea as it is an easy place to start. However, I chose a petal just outside of the flower center, as this happened to be the easiest looking place for me to start because of the lighting conditions.
You might choose a different area to start every time you draw a rose. Due to lighting conditions, as well as if you don’t finish your rose drawing in one sitting. Your rose for drawing may be a little bit different each time you go to draw it.
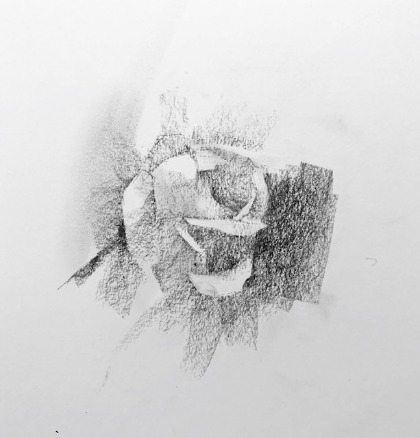
Start shading your rose drawing
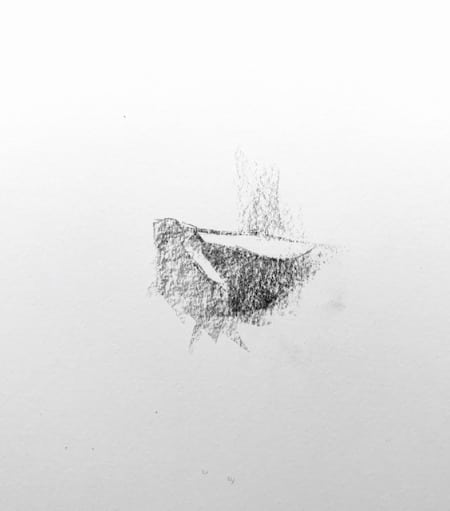
Start shading your rose drawing right away, so that you can get some light and shadow in place from the beginning. Doing this early on will help you to create a strong tonal value drawing. The area I chose first on my rose had clear tonal values, which made it easy to know which area is light and which is dark.
In the above sample drawing of, how to draw a rose, you can clearly which areas are shaded darker. As well as which spots are left lighter in value.
How to draw roses by finding the center of the rose sketch
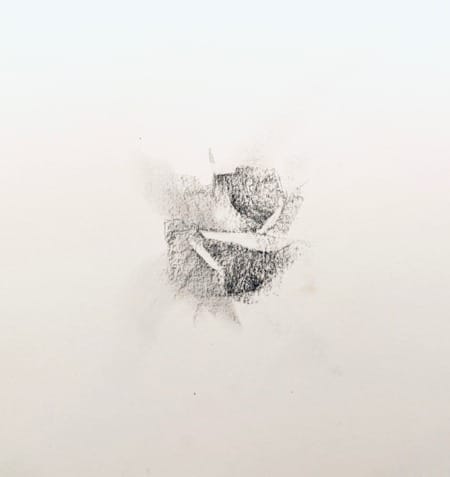
In this next step of how to draw a rose, I worked at finding the shape at the center of the rose sketch. I first made a line drawing of the shape of it and then shaded it. Just like in the step above, there is a clear tonal structure to the rose. That means that there are clear distinctions as to which area is dark and which is light.
In the example drawing above the center is dark in the middle while the outer areas of the rose are lighter.
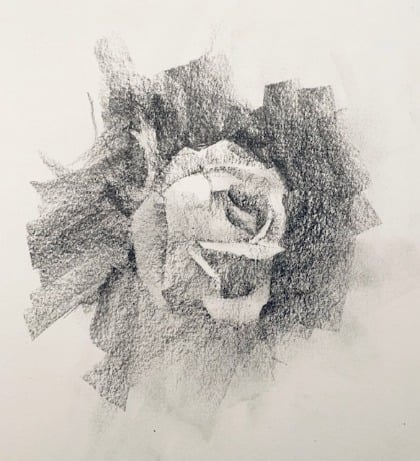
Finding the shapes of the rose for drawing
How to draw roses is a great subject for many reasons, least of which because they have a specific shape. Throughout drawing a rose, you want to continually be clear about the shapes that make up your rose drawing.
In the sample sketch of the rose above, you can see where I created clear lines toward the top of the rose drawing. Here I searched for the shape of the rose. However, I started this process of looking for clear shapes within the rose from the beginning.
Moving outwards in your rose drawing
After you finish drawing the center area of the rose, it is important to start moving to the outer areas of the rose sketch. So, in simple terms from the inside out.
In the sample drawing above you can see that I started drawing the outer petals of the rose for drawing. In addition, I started drawing the background of the rose as well. Having a darker background makes the rose stand out even more.
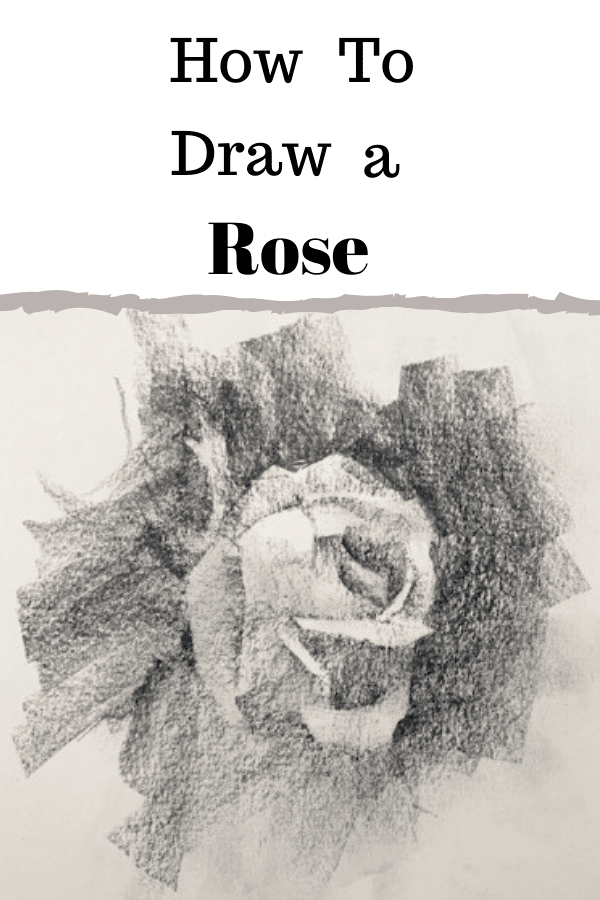
Drawing a rose finishing touches
Continue to draw the outer petals of the rose drawing. Draw the precise shape of each petal and continue to shade each area, as I outlined earlier in step two, start shading the rose drawing.
How to draw a rose in completion

For the last steps of how to draw a rose, draw a stem as well as some leaves on your rose. In addition, create hard edges on the outer petals of the rose drawing. In the sample drawing above you can see the lowest petal has hard edges as do some of the other edges on the outer edge of the rose.
Paying close attention to the edges while drawing your rose will help it to feel more real and lifelike. Learn all about edges so that you can create a great variety of edges as you learn how to draw roses.
Final thoughts on how to draw roses step by step
Roses provide great subject matter even for advanced artists. They are not just beautiful and interesting, but you will likely learn something new every time you draw them! So whether you are wanting to create a beautiful drawing or just practice your skills, a rose is the perfect subject.
What’s next? How about learn how to paint a rose! To learn more drawing skills, discover important tonal value drawing techniques, along with other great drawing tips.


5 thoughts on “How to Draw a Rose Step By Step Rose Drawing Tutorial”
Hi Elisabeth,
I am interested to know how do you use the wood less pencil?
Do you break it in small pieces and use it to mark and press with the side of it like you do with the willow charcoal stick?
I think it would be a good option for sketching with on the go.
Best , Florentina
Ps Thank you for this lovely tutorial again I find your blog extremely helpful.
Hi Florentina! Good to hear from you 🙂 I don’t break them into smaller pieces but I do use the side of it just like I do with a charcoal stick. Since the ‘drawable’ area at the end of the pencil is short I don’t need to make the pencil smaller. However! I can be quite clumsy so mine often fall and break and end up with shorter anyways.. 🤦♀️😂 They are excellent for sketching on the go and are handy! I use these all the time to go to sketch at museums and just for fun while out. Personally I keep mine (with an eraser) in a small metal tin to keep the pencils from breaking and carry it in my bag wherever I go along with a small sketchbook. Thank you!! I am always so pleased to hear that the information on this site is helpful 🙂
Hi, I found this blog very useful I am happy to understand that we have such great community. I also provide passion of drawing, sketching and painting. You may also share my artwork on your blog here you can see my art work too in the link. Thank you so much please lets support eachother.
So glad to hear that this blog has been useful for you! Wonderful website you have! Keep on painting and drawing and building it. Best wishes – Elisabeth
Thank you so much for this information. I am also a painter, but like to see and learn from other artists as well. I find your explanation very help full en very good.