Learn how to draw clouds with this step by step tutorial! Cloud drawing can be one of the most satisfying subjects to draw as they are so ephemeral and allow for a lot of imagination on your part.
Drawing clouds can be especially fun when you are outside for the day and would like to spend a little bit of time creating some art. The amount of supplies needed when learning how to draw a cloud are minimal. As when drawing, you do not have to laden yourself with heavy painting supplies!
For this drawing clouds with charcoal tutorial. All you will need is paper, an eraser and some charcoal – though a pencil will be fine as well 🙂
Cloud drawing video tutorial preview
You can find the entirety of the How to Draw Clouds video tutorial directly above, at the bottom of this article.
Drawing materials for learning how to draw clouds
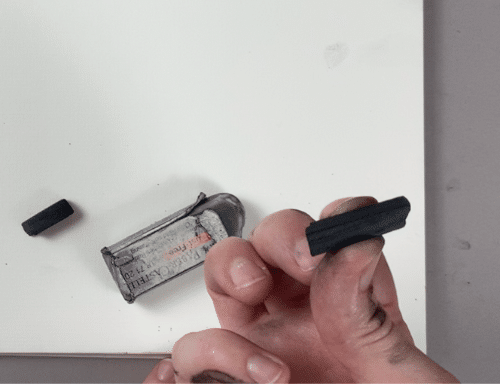
The materials I used to create the cloud drawing in this how to draw clouds tutorial were: bob’s vine charcoal, a faber castell eraser and charcoal paper. I use the flat side of the charcoal (as seen in image) so I can create wide marks and create simplified value shapes. Avoid using the end part of the charcoal – this will only allow you to create lines.
Use the wide length of the charcoal to draw with
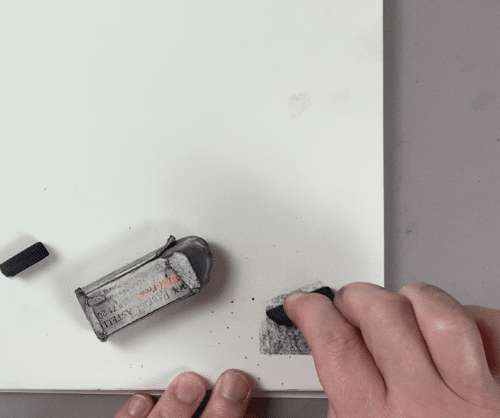
In the image above you can see how I use the wider length portion of the charcoal to create wide marks with. Doing this will allow me to focus on creating tonal values while I’m drawing my clouds.
Start by drawing the lower part of the cloud

We will start learning how to draw a cloud, by drawing the shadow area of the lower part of the cloud. There are never going to be perfectly straight lines when it comes drawing clouds. So try to observe the silhouette shape of the lower part of the cloud against the lighter area above it.
How to shade clouds using your finger
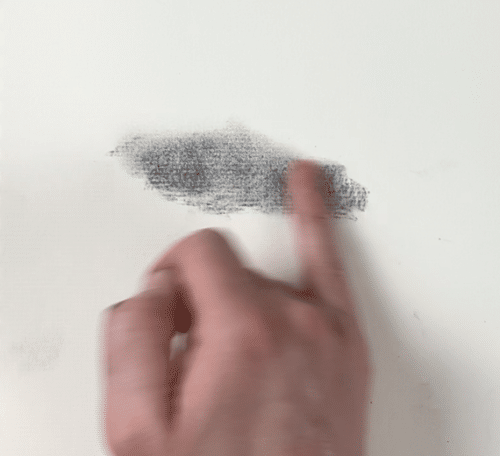
Clouds are incredibly soft – so we need to reflect that softness in our clouds drawing. Using your fingers to rub on the charcoal drawing helps to soften the texture and create soft edges.
So, after laying down my first bit of charcoal in the previous step. I rubbed my finger over the area to create some soft edges.
Find the silhouette of your cloud drawing

After laying down the lower shadow area of the cloud – and using my finger to create soft edges. I then draw the silhouette of the upper part of the cloud.
Since there are no straight lines when it comes to clouds I look closely at finding the shape of the cloud with my charcoal stick. I still continue to use the flat part of the charcoal stick to find the edge of the cloud.
How to draw the sky around the clouds drawing

Now, I turn my attention towards drawing the sky around the cloud. It is important to NOT completely finish the cloud and then draw the sky area. Rather, when drawing clouds it is best to draw the cloud and sky together at the same time because you want the cloud to feel like it is part of the sky.
Here the sky is a little darker than the cloud which helps make the cloud stand out more.
Sky and silhouette of the cloud drawing
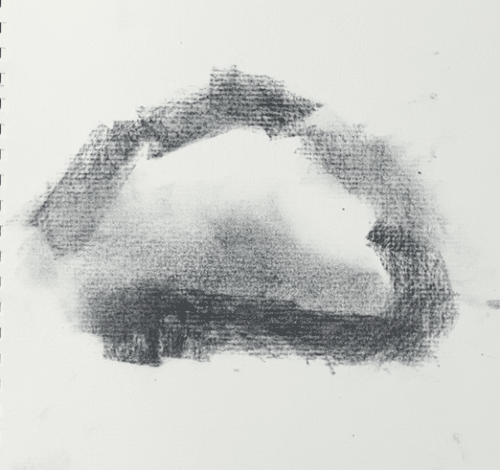
Continue to draw the sky that is around the cloud. As mentioned before, pay close attention to the silhouette shape around the upper side of the cloud.
I also used my finger to create a soft edge between the bottom part of the cloud and the sky. This is where you can work on making the cloud feel like it is ‘in’ the sky.
Create shadow shape when drawing clouds

A big part of learning how to draw a cloud is to create specific shadow shapes. The value tones and shapes in a cloud are incredibly subtle and require a lot of close observation to draw in a convincing way.
In the image above you can see how I looked for the precise shapes of the shadow of the cloud. I also paid attention to the parts of the shadow that are a little darker and which areas are slightly lighter.
In addition, I used my fingers to rub soft edge areas of the cloud to blend in with the sky a little more – as seen on the right side of the cloud.
Adding more clouds to the how to draw clouds drawing

Now we expand our how to draw clouds drawing to include multiple clouds. I outlined the cloud areas by drawing the sky area with the flat side of my charcoal.
The darkest part is the sky area around my second lower cloud. The shadow on my second lower cloud is a medium value. I left the lightest areas of the lower cloud free from charcoal. Though I would rub in a very small amount of charcoal to areas that are very light – but not the brightest area of the cloud.
How to draw clouds softly

I used my fingers to rub the charcoal into the paper to soften the clouds. In addition, I wanted to make the sky a little lighter as it was becoming a little bit too dark in the previous step.
Using your fingers to rub the charcoal on the paper is not just useful for creating soft edges but also to lighten your drawing. When you rub your fingers on the drawing you are effectively taking charcoal off of your paper.
Drawing clouds in the sky

I added in another cloud on the upper right side of the cloud drawing. With my charcoal I drew the shape around the small cloud. You can see what parts of the small cloud are light or medium in value.
Find shadow shapes when drawing clouds

It is all important to find shadow shapes when drawing clouds! It is these shadow shapes that help to create the shape of the clouds.
For example, notice how I was searching for the shadow shapes in the image above. When working on this stage of the drawing I worked on creating very specific shadow shapes – the more specific you are the more real and convincing your clouds will be.
How to draw clouds with dark values

Pay close attention to values when learning how to draw clouds. I noticed that the upper right side area of the cloud drawing is darker and therefore made that area darker with my charcoal stick.
Notice the difference between the area in the step before this drawing where it is much lighter. This area of the drawing will eventually be developed later on to become a darker cloud in the cloud drawing.
Developing another cloud

I now create another smaller sized cloud beneath the long cloud on the right side of the drawing. As I did before – I look for the silhouette on the outside part of the cloud by drawing it with my stick of charcoal.
In addition, notice that the lower part of the large long shadow has a darker shadow base. This distinction helps to give the cloud more form and shape.
Pay attention to edges while drawing clouds

A very important part of learning how to draw clouds, is to pay close attention to the edges. Edges in art are important in general. As they are what will help to make certain areas of a cloud look soft and other areas to stand out more or even look sharp.
Look along the outer edge of your clouds drawing and create sharp edges around areas that should stand out more. For the areas that should be soft – use your fingers to smudge the edges of the clouds sketch to soften them up.
Drawing darker clouds

Here I return to the upper right side of my clouds drawing that is darker in value. Earlier, I simply darkened this area with my charcoal.
Now, in the step above I looked for the darker value shapes within the darker cloud. By drawing out specific dark shapes it helps to create some dimension and make it look more like a cloud. Also, because it is darker in value and has soft edges. The dark cloud recedes back in space and sits behind the other clouds.
How to draw clouds with an eraser
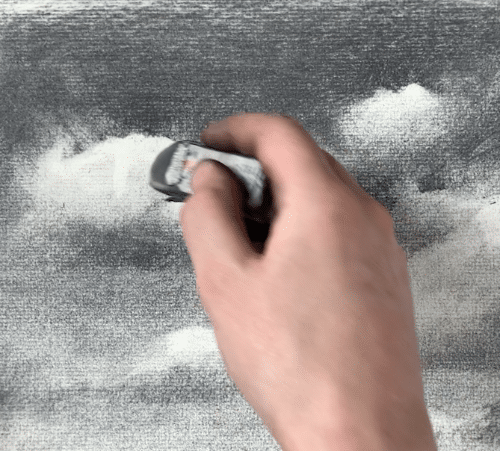
Using an eraser to draw clouds might sound counterintuitive. However using an eraser is an important tool when it comes to sketching clouds.
Notice in the image above how I used my eraser to create a light highlight area in the upper part of the cloud. If I used my fingers to get rid of the charcoal, I would only create a light smudge area. The eraser on the other hand allows me to create a bright highlight area in the cloud.
Also create lighter areas with an eraser

Besides just creating bright highlight areas with an eraser. You can also make light areas in your clouds drawing with an eraser.
Do not apply a lot of pressure, instead lightly move your eraser over an area so that a light amount of charcoal will be taken away. In the image above you can see in the areas I am working on, I am just trying to make certain areas look a little lighter. So that they are not the brightest part of the cloud.
You can use this method throughout the whole cloud drawing.
How to draw a cloud by creating sharp edges with an eraser
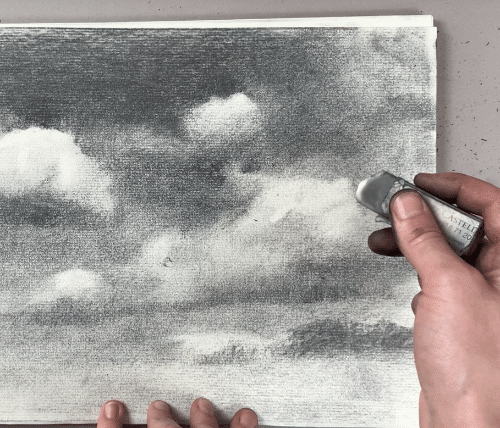
You can create sharp edges with an eraser as well! Notice in the image above how I used the eraser to mark out the areas that are lighter. Doing this helped to create a sharper edge between the cloud and the sky.
Edges within the cloud

Besides just working on the edge between the outer part of the cloud and the sky. It is also important to pay attention to the edges within the clouds!
When drawing the edges within a cloud, you are able to make your cloud appear to have more dimension. In the image above of the clouds drawing, you will notice a bright light line created with the eraser on the large cloud.
Right next to the bright light line I created a sharp edge by making a darker shadow area inside the cloud. This sharp area within the cloud helps to create a sense of volume.
Lower cloud area

Now we are nearing the end of the clouds drawing! I use my stick of charcoal to darken the upper part of the sky. This helps to create a more convincing sense of space in the clouds sketch.
When the upper part of the sky is darker it comes forward, when the lower part of the sky is lighter it will recede back in space.
Completing the clouds drawing
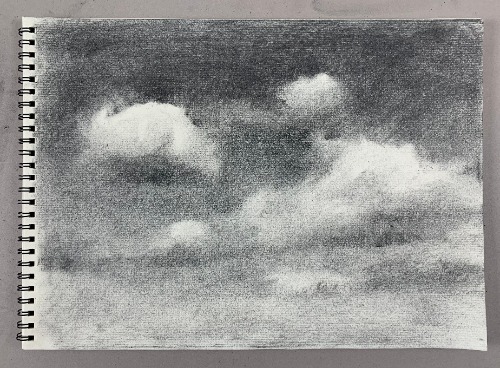
Here is the completed version of the charcoal cloud drawing! Before calling it complete however, I made sure that the drawing as a whole worked.
I asked myself two very important questions – “is there a sense of space in the drawing” and “does the clouds drawing have a visible sense of light and dark”?
If I feel that I am finished with my drawing and can see those two things in my cloud drawing. Then I can call my drawing complete!
Further Resources
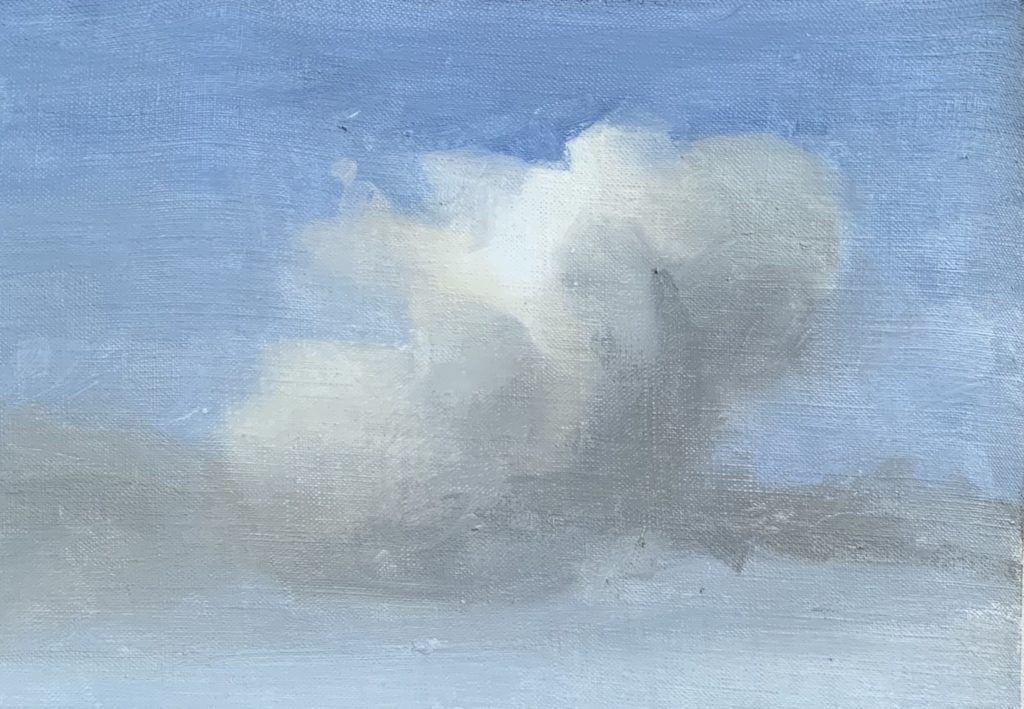
Here are some other related articles that are both about how to paint clouds.
Learn How To Paint Clouds
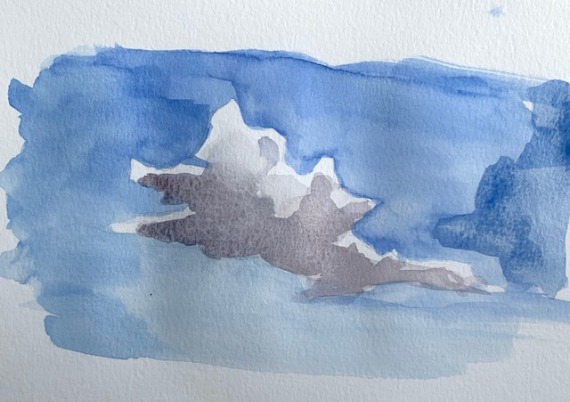
Learn how to paint clouds with Watercolor
Recommended Drawing Tools Used in this Article
Charcoal Drawing Paper
Bob’s Vine Charcoal
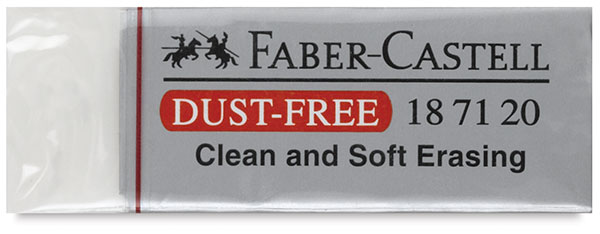
Faber Castell Eraser
How to Draw Clouds video tutorial
Want to remember this? Save How to Draw Clouds to your favorite Pinterest board!






5 thoughts on “How To Draw Clouds – Drawing Clouds with Charcoal”
Very helpful, thank you so much. William
Glad to hear that it is helpful, thank you!
Hello Elizabeth,
Your article on drawing clouds with charcoal was very illuminating. Do you have a tutorial with painting clouds with soft pastels? Thanks!
Hello Lalita, I am glad that the cloud article was helpful! I do not yet have a cloud tutorial with soft pastels – but plan to make one in the future as I love soft pastels!:)
Hoi Elisabeth,
Ik vind de manier waarop je iets onder de aandacht brengt erg goed.
De meeste kunstenaars praten alleen maar wat ze aan doe zijn maar helpen je niet met methodes om kunst te creeëren
groetjes Hans Peters