Learn how to paint clouds in watercolor in this step by step watercolor painting tutorial! Clouds are one of the most fun subjects to paint. The only problem with them is that they can be difficult to paint for several reasons!
One is that clouds move very quickly in the sky… So, if you are painting a cloud by looking up at one in the sky, you will either have to paint incredibly fast or improvise. Another reason why how to paint clouds in watercolor is difficult, is that clouds require some subtle color mixing.
However, the process of painting clouds in watercolor will be demystified in the step by step cloud watercolor painting tutorial below!
How to paint clouds in watercolor step 1 – Make a light painting sketch
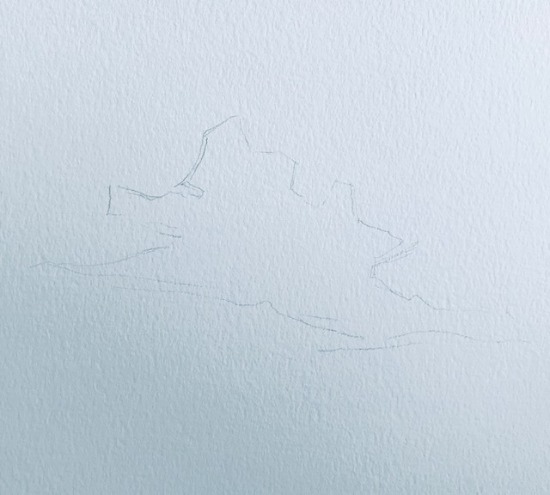
It is good practice to make a light pencil sketch of your cloud before getting starting with your watercolor! The lines do not mean that you are confined to painting in that area. Rather, it just acts as a loose guideline for you to have an idea of where to start.
Sometimes it can be a little daunting knowing where to start a painting – especially when something is not so erasable! So, a light pencil sketch acts as an antidote to that.
Step 2 – Paint the surrounding sky
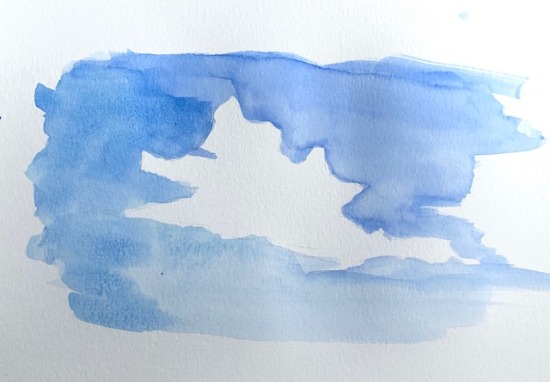
Second step in how to paint clouds in watercolour is to create a blue sky. Be careful to leave a white area for your cloud. This is where having a light pencil sketch comes in handy. You can paint along the edges of your cloud without worrying that you are ‘ruining’ your cloud shape!
I made the upper part of my sky from ultramarine blue and the lower part of the sky was made from Prussian blue. Make the upper part of your sky a darker blue, and create hard edges in your painting along the upper edges of the cloud.
The blue section of sky in the lower part of our sky painting should be a lighter blue. I used prussian blue for this part. I also used more water so as to dilute the color and create a lighter blue.
How to paint clouds in watercolor step 3 – Start light
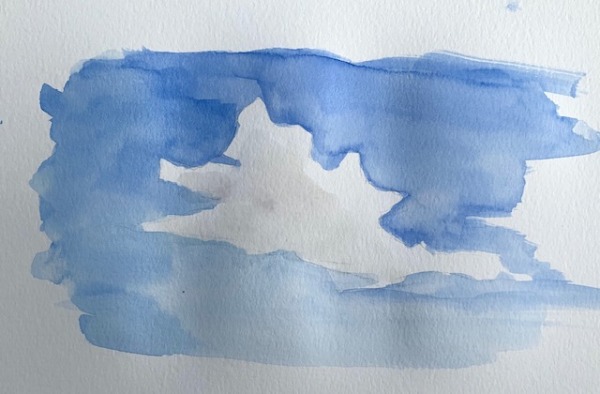
With watercolor paints it is important to start with lighter colors and gradually move towards darker colors.
Here we add a base color for the shadow part of the cloud. I mixed together ultramarine blue and cadmium orange here and used a good amount of water so as to dilute the color and make sure it was light enough! I also added a small amount of yellow to the color mixture to warm it up a little bit.
If you look at clouds you will see that the shadow part of it is often a warm color. Unless they are stormy clouds! 😉 Warm and cool colors play a big role in cloud painting.
One VERY important detail to note in how to paint clouds in watercolor, is to make sure that you leave white area around the edge of your cloud. You want the white of the page to show here. This area will act as the highlight area of your cloud. If you put paint over it you will lose that brilliant white highlight!
Step 4 – Layer a darker shadow color
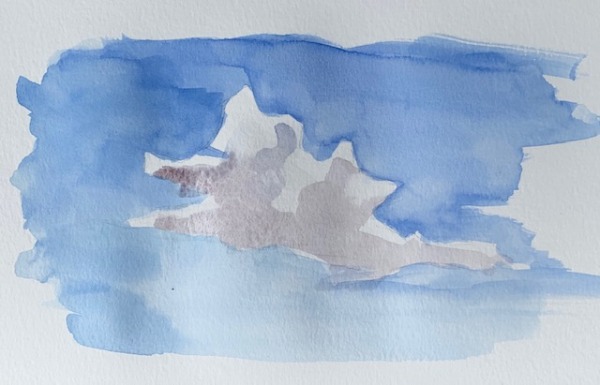
Now it is time to create a slightly darker shadow color in our watercolor painting tutorial. For helpful color mixing instructions and techniques – grab my FREE Color Mixing Guide if you haven’t already!
Again, I mixed together ultramarine blue and orange together – but made sure that it had more of a purple tint to it. I did not add yellow to the mixture this time as I wanted to have a cooler color than the previous step.
Create a shape that slightly matches the shape of your cloud. Leave the upper part of the cloud untouched with this darker shadow color. You some of the lighter layer from the previous step to show through. And again, be sure to leave the white of the page showing around the upper and side edges of your cloud.
Painting clouds with watercolor final step – Layer in more dark shadows
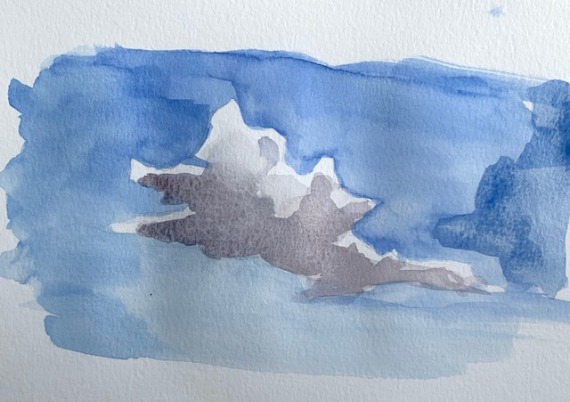
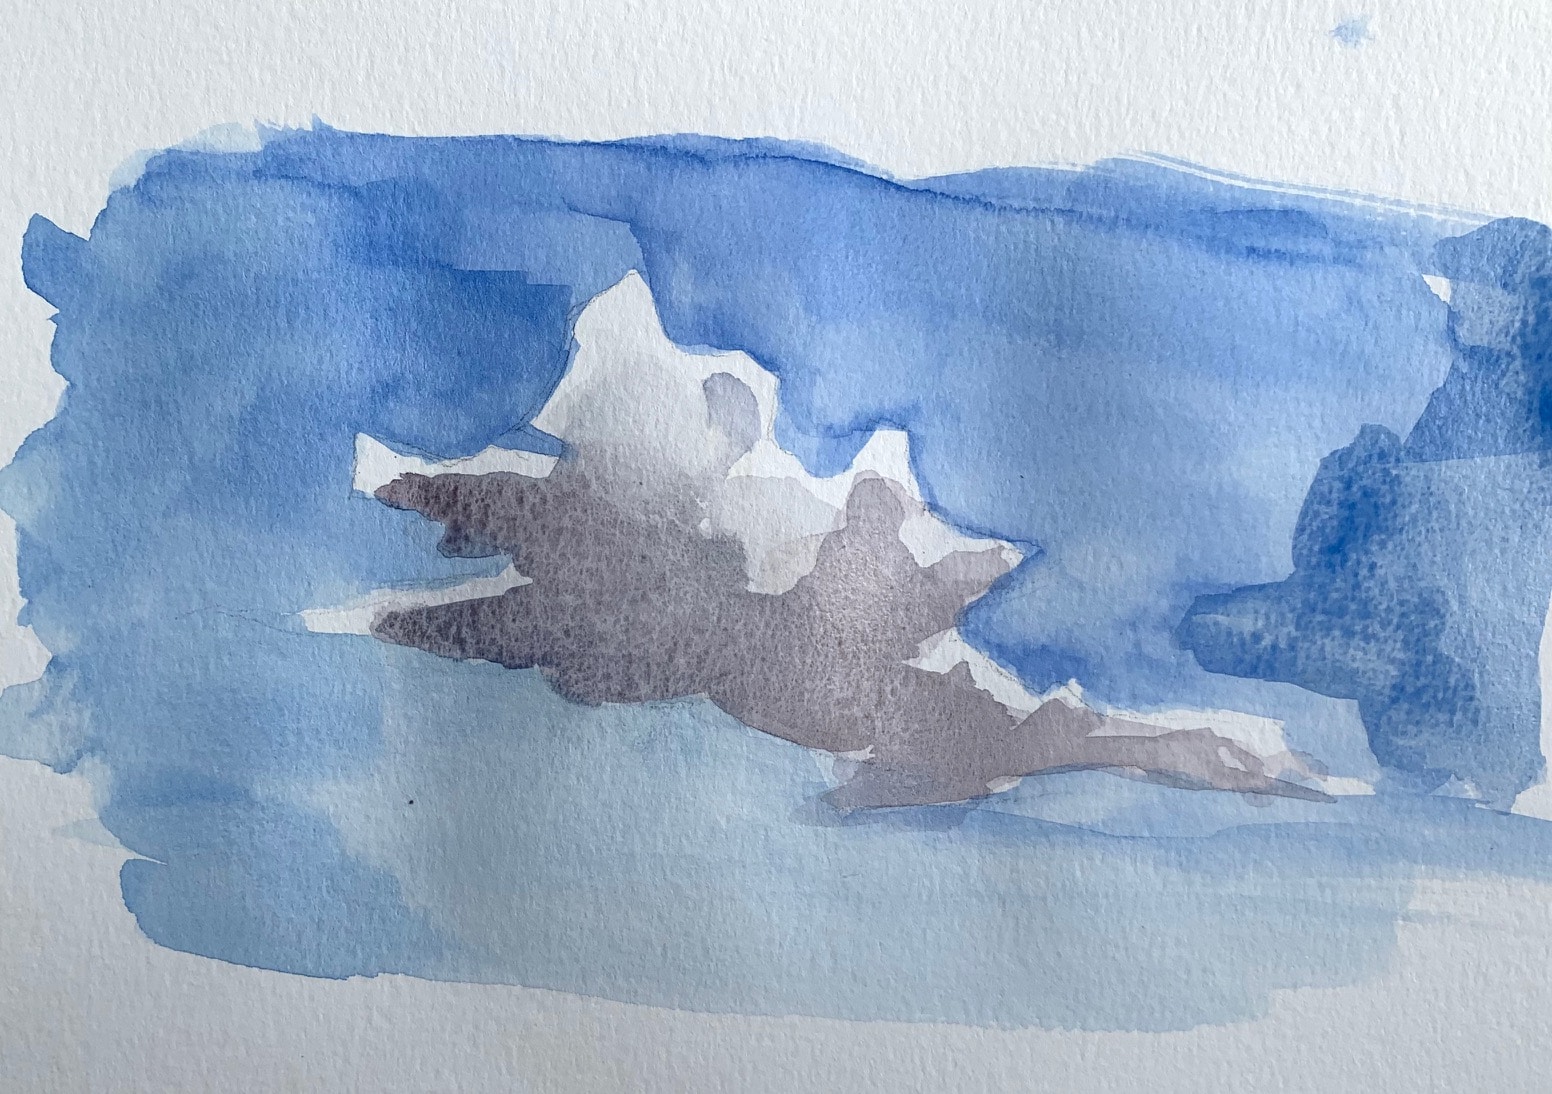
Now for the last step in our how to paint clouds in watercolor tutorial!
I mixed an even darker shadow color than before so as to create a more dramatic lighting effect. The colors were ultramarine blue and cadmium orange – with an emphasis on the blue. I used this color for the lower part of the shadow – where you can see that it is darker.
I also softened the transition between the darker shadow area and the much lighter shadow area at the top of the cloud. Simply dab some water to certain areas to be able to soften areas up.
How to paint clouds in watercolor in conclusion
The watercolor painting techniques we learned here will be useful for your next watercolor painting tutorial. So make sure to practice often and ask any questions as you go!
I also have some great watercolor beginner tips and a breakdown of the best watercolor painting sets to help you along.
You can join the Art Studio Life Facebook group to share your art and get helpful suggestions from other fellow artists.
Please let me know if you have any questions or comments below!



2 thoughts on “How to Paint Clouds in Watercolor: A Watercolor Painting Tutorial”
no funciona la pestaña para bajar la guia de mezcla de colores gratis
Lo siento, no estaba funcionando! Envié la guía gratuita de mezcla de colores a su correo electrónico.